A guy in my local fish club dumped fresh tap water straight into his 40-gallon paludarium the night before a work trip, figuring the fish would “adjust.” He came home four days later to three dead tetras and a filter full of dead bacteria. His city had switched to chloramine that year, and he never got the memo. That mistake is exactly why aquarium water conditioning isn’t a one-and-done chore — it’s a skill you build around your actual tap water, not a generic bottle label.
If you keep a paludarium with frogs, fish, and live plants all sharing one water body, this matters even more. You’ve got a mixed bioload and a nitrogen cycle that can tip over fast if you get conditioning wrong.
What Aquarium Water Conditioning Actually Does
Aquarium water conditioning neutralizes the chemicals in tap water that hurt fish, amphibians, and beneficial bacteria — mainly chlorine, chloramine, and heavy metals like copper. A good conditioner also replaces the fish’s protective slime coat, which chlorine strips away.
Tap water isn’t dangerous to humans in the amounts municipalities use, but fish gills and amphibian skin are far more sensitive. Chlorine is the most common disinfectant, and it’s fairly easy to deal with. Some cities have switched to chloramine (a combo of chlorine and ammonia) because it’s more stable in pipes over long distances, and that’s where a lot of hobbyists get tripped up.
Heavy metals are the quieter threat. Older plumbing can leach copper or lead into tap water, and copper in particular is toxic to invertebrates like shrimp and snails even in tiny amounts. A conditioner rated for heavy metal detoxification binds those metals so they pass through harmlessly instead of building up in your tank.
Chlorine vs. Chloramine: Why It Changes Your Product Choice
Letting water sit out for 24 hours removes chlorine because it evaporates into the air. It does almost nothing for chloramine, because chloramine is chemically bonded and doesn’t off-gas the same way. This is the single biggest misconception I see in beginner fishkeeping forums.
If your water utility uses chloramine, you need a conditioner labeled for chloramine removal specifically — it breaks the chlorine-ammonia bond, neutralizes the chlorine, and then binds the leftover ammonia so it doesn’t spike your ammonia readings. Products that only say “removes chlorine” on a basic label may not do this job.
How to Find Out What’s in Your Water
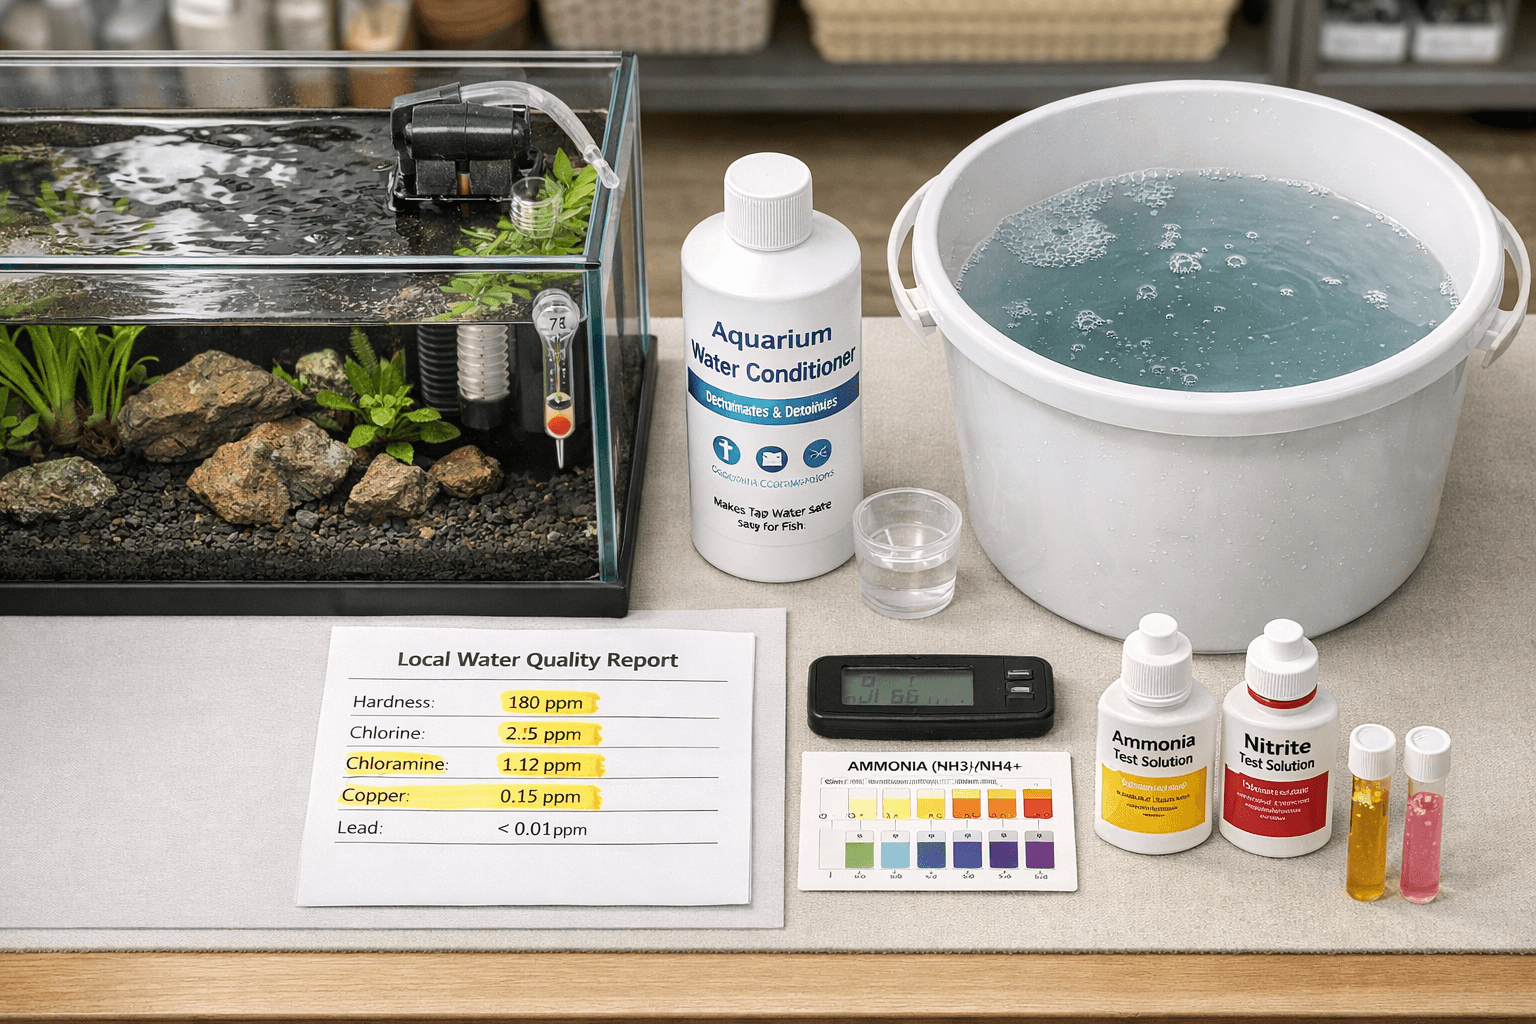
Call your water utility or check their annual water quality report online — it’s public information, usually posted once a year. Search for your city name plus “water quality report” and look for whether they list chlorine or chloramine as the disinfectant. Well water owners skip this step entirely, but they’ve got their own issues (more on that below).
Matching Your Dechlorinator to Your Local Water Report
This is the step most care sheets skip, and it’s the one that actually prevents disasters. Buying “a water conditioner” without checking your city’s disinfectant type is like buying medicine without checking what you’re treating.
Most big-name conditioners on pet store shelves are actually dual-purpose now, handling both chlorine and chloramine, so you’re not always stuck buying two products. But budget or store-brand conditioners sometimes only target chlorine, and the label print can be small enough to miss. Read the back panel, not just the front.
Reading the Label Correctly
Look for three things on any bottle: chlorine/chloramine neutralization, heavy metal detoxification, and slime coat protection. Not every product includes all three. Some are stripped-down chlorine-only formulas meant for basic goldfish bowls, and some are full “complete” conditioners meant for sensitive or heavily-stocked tanks.
If you keep amphibians in a paludarium setup — frogs, newts, or aquatic salamanders sharing space with fish — lean toward a conditioner explicitly labeled safe for amphibians. Amphibian skin absorbs chemicals directly, so a conditioner that’s merely “fish safe” isn’t automatically “frog safe.” This distinction rarely gets mentioned outside specialist habitat guides, but it matters a lot in mixed setups.
Well Water and RO Water Need Different Handling
Well water usually has zero chlorine or chloramine, but it can carry high mineral content, dissolved iron, or unstable pH that swings when exposed to air. Skip the dechlorinator step for well water, but test pH, hardness, and iron before your first water change. Reverse osmosis (RO) water is the opposite problem: it’s stripped of almost everything, including the minerals fish need, so you typically need to remineralize it rather than just dechlorinate it.
Here’s a quick comparison of what each water source actually needs before it touches your tank:
Water Source
Main Concern
Conditioning Step Needed
Extra Testing
City tap (chlorine)
Chlorine only
Basic dechlorinator
Chlorine test strip
City tap (chloramine)
Chlorine + bound ammonia
Chloramine-specific conditioner
Ammonia test kit
Well water
Iron, hardness, pH swings
Usually none for disinfectant
pH, hardness, iron
RO/distilled water
Stripped minerals
Remineralizer, not dechlorinator
GH/KH test kit
Dosing Conditioner Without Overdoing or Underdoing It
Follow the per-gallon dosing on the bottle exactly, and measure your water volume before you measure the conditioner. Guessing tank size by eye is the most common dosing mistake I see, and it throws off the whole ratio.
Most conditioners run somewhere around 1 capful (roughly 5 mL) per 10 gallons, but formulas vary — a heavy-duty chloramine conditioner might need double the dose of a basic chlorine-only one. Always check the actual bottle instructions rather than relying on memory from a different brand. Switching products without re-reading the label is how people accidentally underdose.
Underdosing leaves chlorine or chloramine active enough to irritate gills and burn off the slime coat. Overdosing isn’t usually toxic in small excess amounts, but it wastes product and, with some formulas, can slightly stress biofilter bacteria if you go way over the line repeatedly.
A Simple Dosing Routine That Works
Measure your actual water volume, not your tank’s rated size (substrate, rock, and driftwood displace water, so a “40-gallon” paludarium might only hold 32 gallons of actual water).
Fill a clean bucket with tap water at roughly matching temperature.
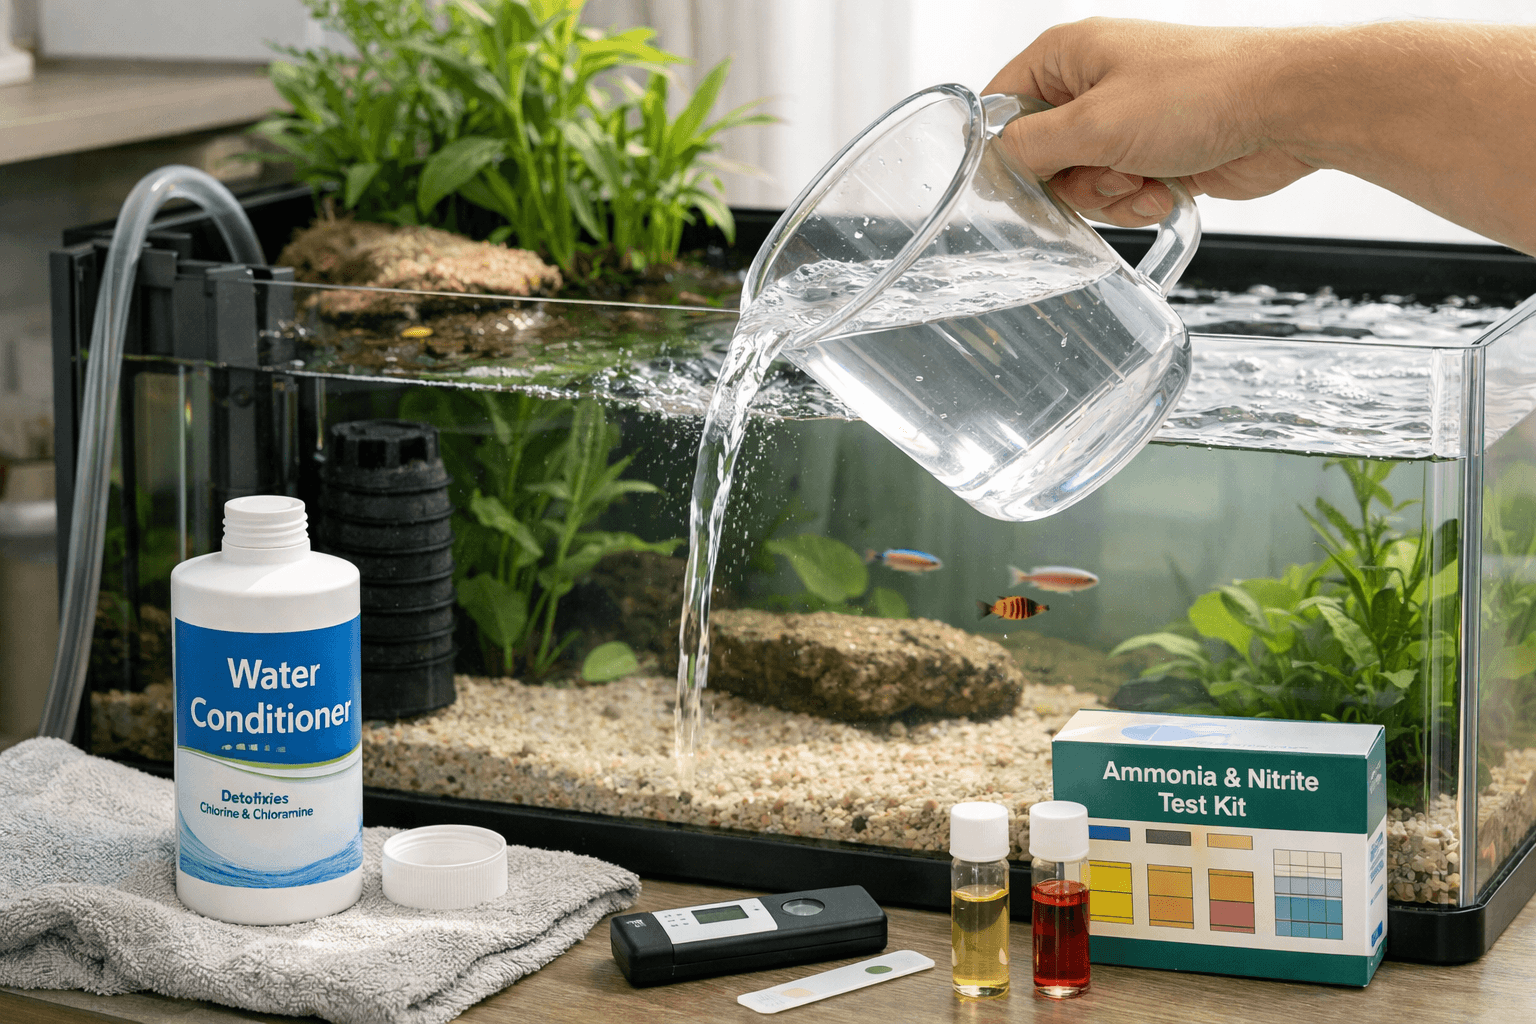
Add conditioner to the bucket first, using the per-gallon dose from the label.
Stir gently for about 10 seconds so it mixes evenly.
Wait 60 seconds before adding the water to your tank (some brands work instantly, but a short pause never hurts).
Pour slowly near the filter outflow so it circulates rather than pooling in one corner.
Log the date and dose in a notebook or phone note if you’re managing multiple tanks.
Dosing During Bioload Spikes
Paludariums and heavily stocked tanks go through bioload spikes — after feeding, after adding new fish, after a frog lays eggs. These moments create extra ammonia, and that’s exactly when your water changes matter most. Time a slightly more careful, precise dose during these spikes rather than rushing a water change because you’re low on tap water buffer.
Protecting Your Nitrogen Cycle While Conditioning Water
A good conditioner protects fish from chemicals, but it can’t protect your beneficial bacteria from dechlorination and dilution stress if you do water changes wrong. The nitrogen cycle depends on colonies of bacteria living in your filter media and substrate, converting ammonia to nitrite to nitrate.
Adding a big batch of untreated tap water during the cycling phase kills off developing bacteria colonies before they establish, because chlorine doesn’t discriminate between “bad” pathogens and the good bacteria you’re trying to grow. This is one of the most common reasons a new tank cycle stalls out around week two or three.
Why Water Changes Can Backfire During Cycling
If you’re mid-cycle (typically a 4-6 week window for a new tank), keep water changes small and infrequent unless ammonia or nitrite spikes dangerously high. Every large water change dilutes the ammonia food source your bacteria need to multiply, which can slow the whole cycling process down by another week or two.
The fix isn’t to avoid water changes entirely — it’s to condition properly every single time, even for a 10% top-off. A lot of beginners think small changes don’t need conditioner. They do. Even a gallon of chloramine-treated tap water added straight into an established tank introduces enough chemical to stress a heavily stocked biofilter over time.
Signs Your Bacteria Colony Took a Hit
Watch for ammonia or nitrite readings climbing again after they’d previously dropped to zero — that’s the classic sign a chemical exposure knocked back your bacteria population. Cloudy water and a sudden ammonia smell near the filter outflow are other tells. If this happens, don’t panic: dose with conditioner again, hold off on new fish for another week, and consider adding a bottled bacteria supplement to help the colony recover faster.
Fish Stress, Slime Coat Damage, and What to Watch For
Fish under chlorine stress usually show it fast: gasping at the surface, clamped fins, or a dull, patchy look to their skin where the slime coat has thinned. That slime coat is their first line of defense against parasites and bacteria, so damage there snowballs into secondary infections within days.
Amphibians show stress differently — frogs may refuse food, develop skin lesions, or spend unusual amounts of time out of water entirely. If you notice this within 24 hours of a water change, suspect your conditioning first before assuming disease. It’s the most overlooked cause of sudden health issues in home aquariums.
The Slime Coat Rebuild Timeline
A healthy slime coat typically rebuilds within a few days once the water chemistry stabilizes, faster if your conditioner specifically includes a slime coat additive (many premium formulas do, listed as “aloe vera” or “polymer coat” on the label). Don’t expect instant recovery — give it 3 to 5 days and keep water quality steady during that window.
When Stress Points to a Deeper Problem
If fish still look stressed a week after a properly conditioned water change, the issue probably isn’t the conditioner anymore. Check ammonia and nitrite levels with a liquid test kit (strips are convenient but less accurate for these two parameters specifically), and rule out temperature shock from water that wasn’t matched closely enough before adding it.
Test Kits: The Step That Makes Conditioning Actually Verifiable
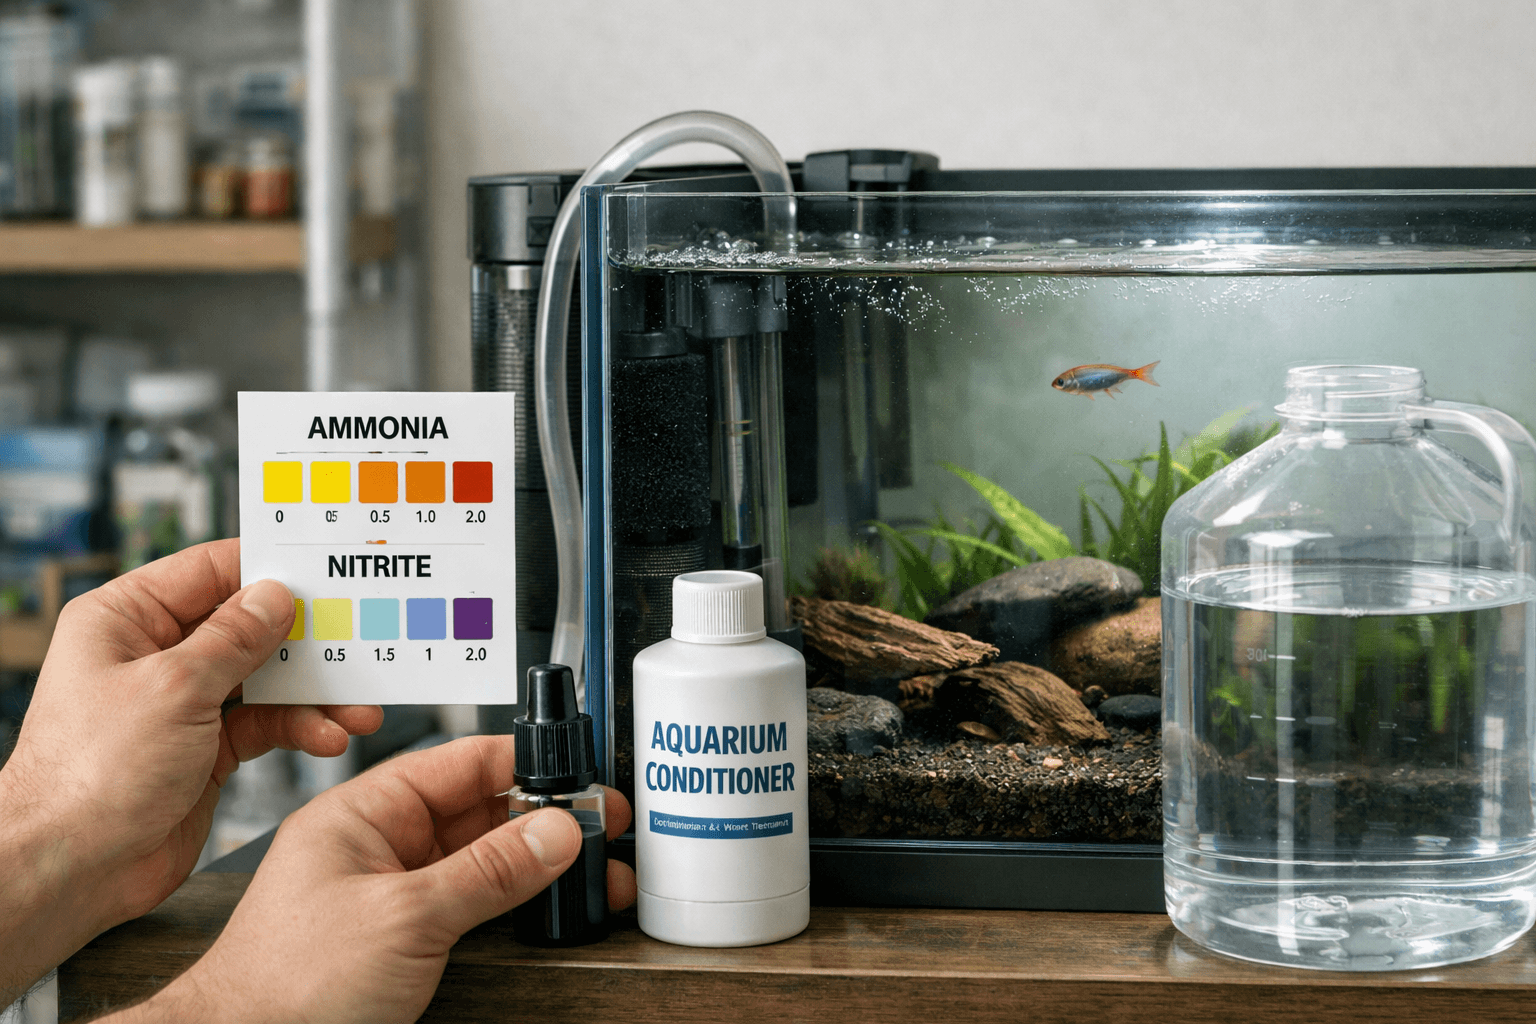
You can’t know if your conditioning routine is working without testing the water, full stop. A liquid test kit that checks ammonia, nitrite, nitrate, and pH gives you the real picture; conditioner alone is a guess without it.
Test strips are fine for a quick daily glance, but they tend to read fuzzy on ammonia and nitrite, the two numbers that matter most during cycling and after any bioload spike. A liquid kit costs more upfront, generally somewhere in the $20 to $30 range for a kit that lasts months, but the accuracy pays for itself the first time it catches a problem early.
Test your source tap water once, before you ever condition it, so you know your baseline. Some water utilities’ chloramine levels shift seasonally, and a baseline test lets you catch that shift instead of getting surprised by it.
Building a Simple Testing Habit
Test ammonia and nitrite weekly during a new tank’s cycle, and monthly once things stabilize. Bump that up to weekly again any time you add new animals, do a deep clean, or notice cloudy water. This routine sounds like a lot at first, but it takes about five minutes once you’re used to the color charts.
For paludarium keepers managing both a water feature and a terrestrial zone, the detailed setup walkthroughs on sites like petterrarium.com are worth checking for how water testing schedules interact with humidity and misting systems, since those add another layer most straight-aquarium guides don’t cover.
Frequently Asked Questions
Does bottled or filtered drinking water need conditioning too?
Usually yes, unless it’s specifically labeled purified or RO water. Most bottled spring water still contains some level of treatment chemicals or minerals that benefit from a light conditioning dose, so check the label before assuming it’s automatically safe.
How long after adding conditioner can I add fish?
Most conditioners work within 30 to 60 seconds for chlorine neutralization, but wait until the water temperature matches your tank (usually 15-20 minutes of acclimation) before adding fish, regardless of how fast the conditioner works.
Can I use too much water conditioner by accident?
A small overdose usually won’t harm fish directly, but it wastes product and can mildly stress biofilter bacteria if repeated often. Always measure with the dosing cap provided rather than eyeballing it, since concentrations vary a lot between brands.
Is dechlorinator the same thing as a full water conditioner?
Not always. A basic dechlorinator handles chlorine (and sometimes chloramine), while a full water conditioner often adds heavy metal detoxification and slime coat protection on top of that. Check the label for all three features if you want complete coverage.