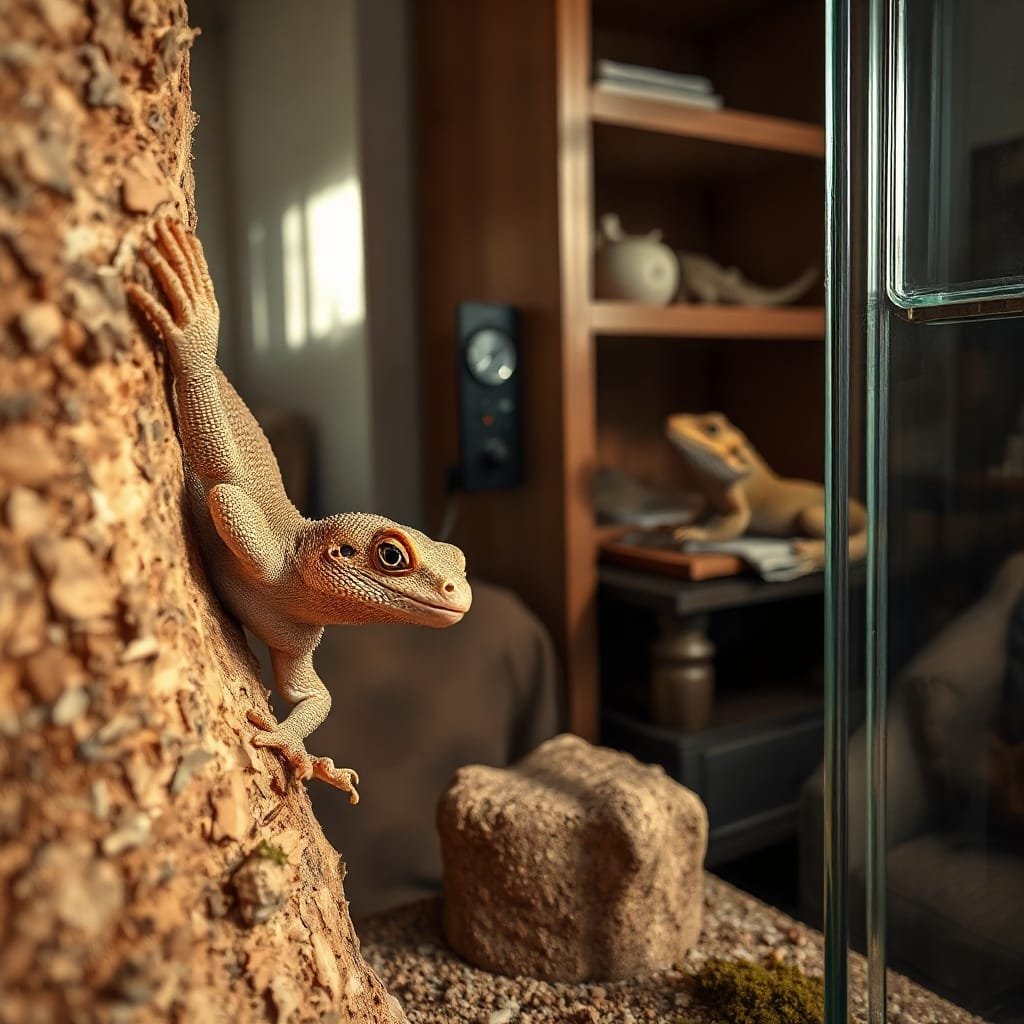
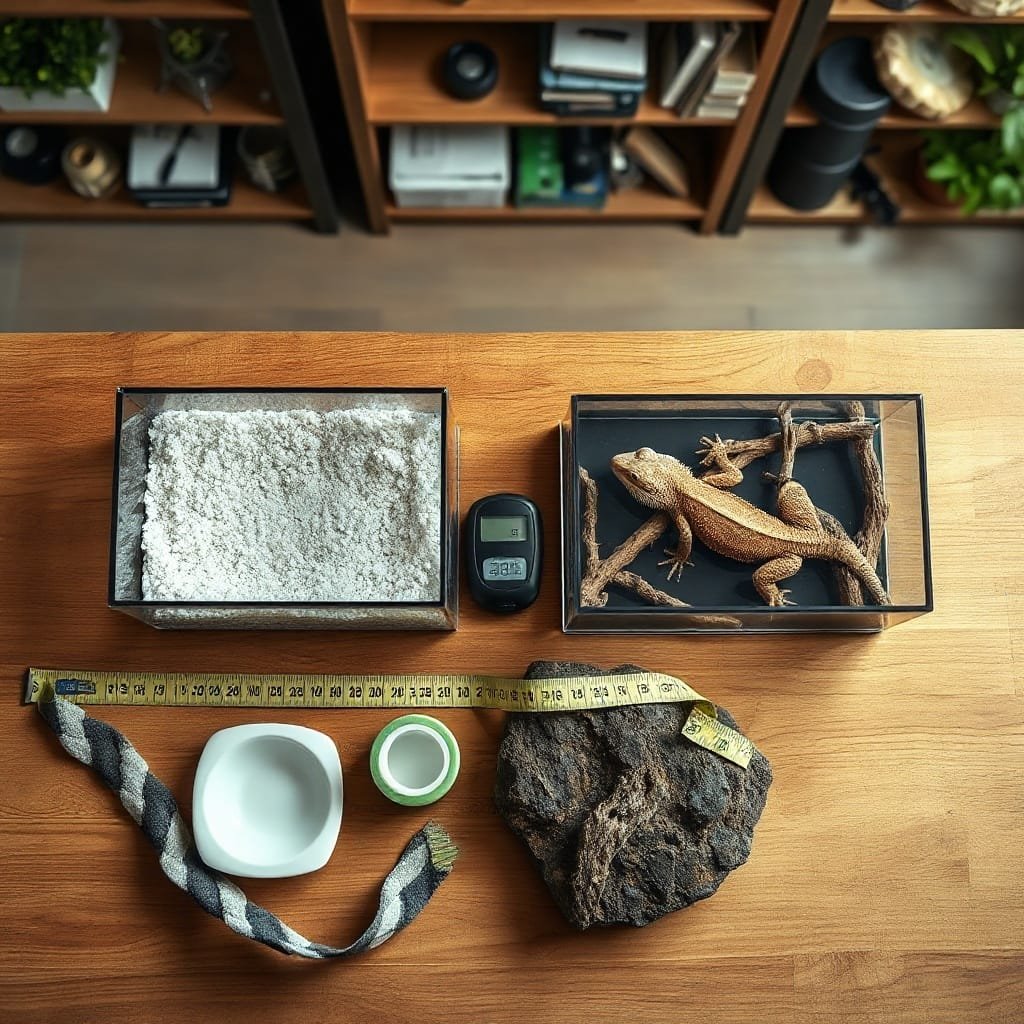
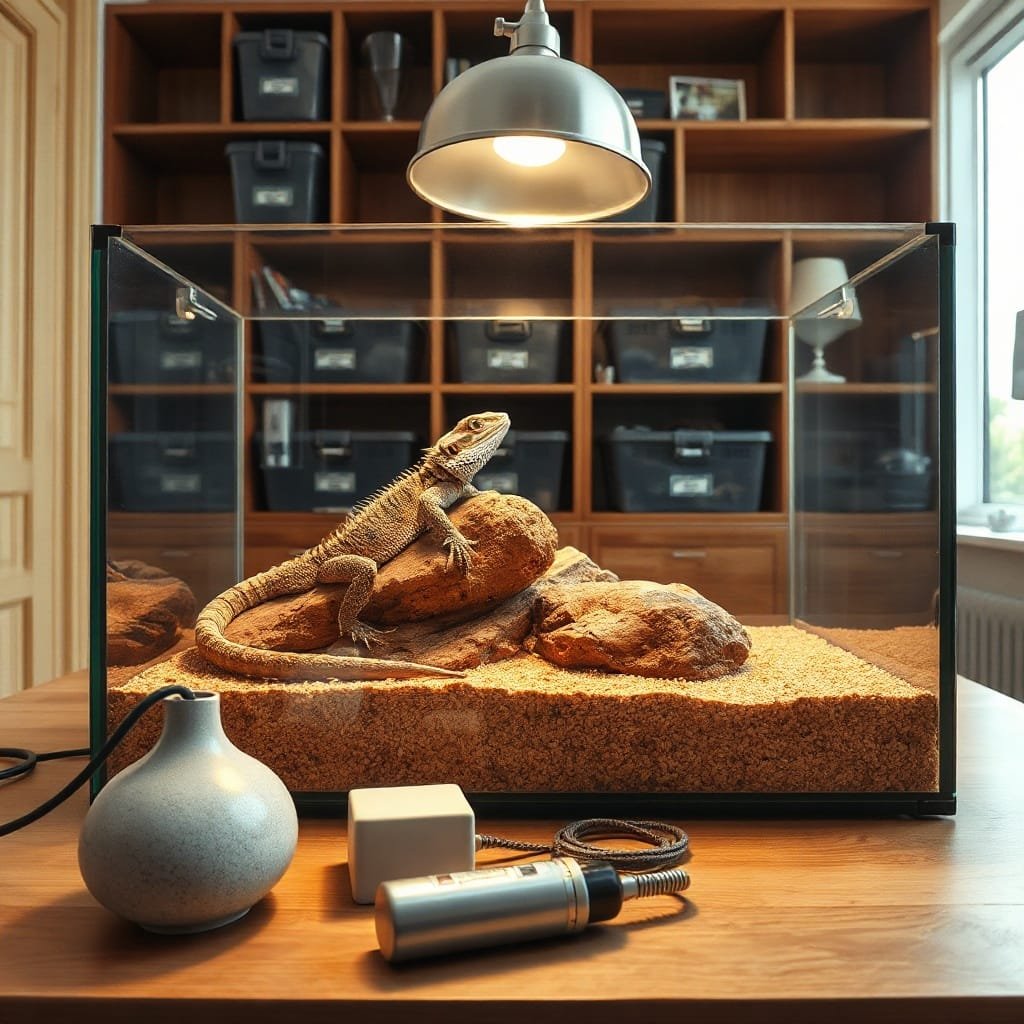
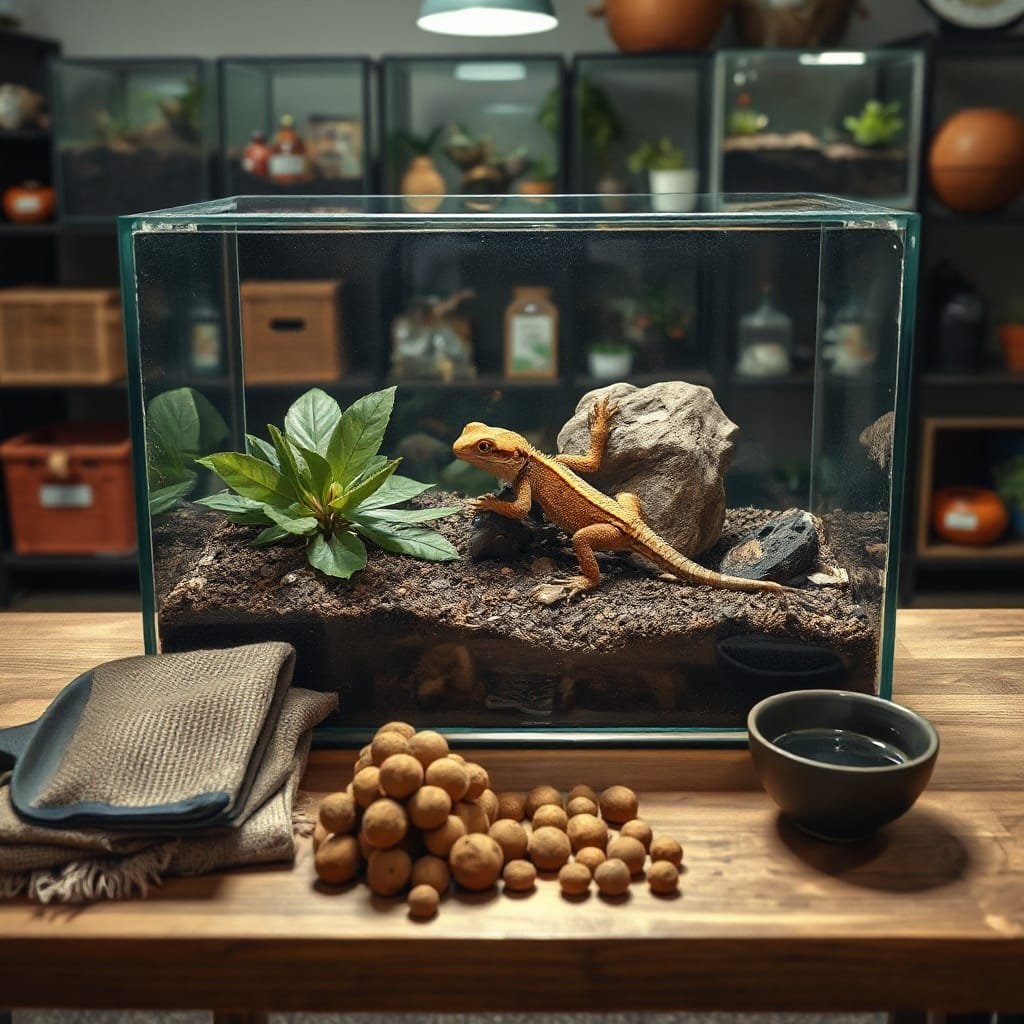
You’re staring at a 40-gallon breeder tank, wondering if it’s big enough for your new beardie. That’s exactly the wrong place to start. For lizard reptiles, the build always has to follow the animal, not the other way around. A generic enclosure plan that works beautifully for one species can stress or even harm another.
This guide is for keepers who want to build something better than what’s on the shelf. You already know basic care. Now you need a real framework for sizing, materials, and climate control, built around your specific animal.
Start With the Species, Not the Build
Before you cut a single board or order a sheet of PVC foam, look up your species. The biggest build mistake is designing around available materials instead of the animal’s actual climate needs. A bearded dragon and a crested gecko don’t just have different preferences. They need near-opposite setups.
Bearded Dragons vs. Crested Geckos: Near-Opposite Needs
Pogona vitticeps (bearded dragons) need a hot basking spot around 105°F, low humidity (30–40%), and strong UVB exposure. Correlophus ciliatus (crested geckos) want temps that stay below 80°F, humidity between 60–80%, and no intense basking light at all. Build one enclosure to fit both and you’ll fail both.
How to Read a Species Care Sheet Before Buying a Single Board
Pull care sheets from at least two sources. Reptifiles.com is a solid, research-backed option. Write down the target temperature gradient, humidity range, and minimum floor space. Those three numbers drive every material and design decision you’ll make.
Enclosure Size: Minimum Dimensions Are a Starting Point, Not a Goal
The minimums on most care sheets keep an animal alive. They don’t give it room to thermoregulate properly, explore, or behave naturally. If you’re building custom, go bigger — it costs surprisingly little extra in materials.
A good rule of thumb: add at least 25% to the minimum floor space recommendation. For a bearded dragon, the common minimum is 4 feet long by 2 feet wide by 2 feet tall. In practice, a 5×2×2 build gives the animal a real thermal gradient from basking end to cool end, which a 4-foot enclosure barely achieves. For a crested gecko, a 24×24×36-inch vertical build is a workable minimum, but 24×24×48 gives noticeably better climbing space and humidity stability.
Floor space matters more than height for ground-dwelling species; height matters more for arboreal ones. Don’t flip those priorities.
Species
Minimum Floor Space
Recommended Build Size
Orientation
Bearded Dragon
4 ft × 2 ft
5 ft × 2 ft × 2 ft
Horizontal
Crested Gecko
18 in × 18 in
24 in × 24 in × 48 in
Vertical
Blue-Tongued Skink
4 ft × 2 ft
5 ft × 2.5 ft × 2 ft
Horizontal
Leopard Gecko
3 ft × 1.5 ft
4 ft × 2 ft × 1.5 ft
Horizontal
Green Iguana (adult)
6 ft × 3 ft
8 ft × 4 ft × 6 ft
Vertical/Horizontal
One thing builders consistently underestimate is thermal gradient length. You need enough horizontal distance for the basking zone to be genuinely hot while the cool end sits 25–30°F lower. In a 4-foot enclosure for a bearded dragon, that gradient is tight. In a 5-foot build, it’s comfortable and stable.
Height matters for ventilation too. Taller enclosures give hot air somewhere to go, which makes temperature management more predictable. If you’re building for a species that needs 40% humidity or less, a bit of extra height actually helps dry the enclosure out faster after misting.
Don’t treat the table above as a ceiling. Bigger is almost always better for the animal, and the extra lumber or PVC for a 5-foot build versus a 4-foot build typically adds under $30 in material cost.
Glass, PVC, or Wood: Picking the Right Material for Your Lizard’s Climate
Your material choice locks in how well the enclosure holds heat and humidity — and how long it lasts. Each material has a real use case, and each has a genuine downside.
Material
Heat Retention
Humidity Control
Weight
Rough Cost (4×2×2 build)
Best For
Glass
Poor
Poor (without sealing)
Heavy
$150–$250
Viewing, low-humidity species
PVC foam board
Good
Excellent
Light
$200–$350
Most tropical and arid species
Plywood (sealed)
Excellent
Good (with waterproofing)
Heavy
$80–$150
Arid species, budget builds
When Glass Works and When It Fights You
Glass is great for visibility and easy cleaning. For species like leopard geckos that need low humidity and moderate heat, a glass enclosure with a screen top works fine. The problem shows up with tropical species: glass loses heat fast, and keeping a crested gecko’s enclosure at 75°F in a cool room means your heating costs climb and temperature swings get harder to manage. Glass also fogs constantly with high-humidity setups, which makes monitoring harder.
PVC Panels: The Mid-Range Build Worth Considering
PVC foam board (sometimes sold as Celtec or Sintra by brand) is the go-to material for serious custom builds right now. It’s lightweight, doesn’t absorb moisture, and holds heat well. A 4×2×2 enclosure built from 1/2-inch PVC foam board typically runs $200–$350 in materials depending on your panel supplier. The main drawback: it doesn’t look as clean as glass from the front unless you add a glass or acrylic door panel, which most builders do anyway.
PVC is also easy to cut with a circular saw and bonds well with solvent cement or screws. It won’t rot, warp, or off-gas after curing — a real advantage over wood for humid builds.
Wood Builds: Waterproofing Is Non-Negotiable
Plywood is the cheapest framing option, often under $150 in raw materials for a standard 4×2×2 build. But untreated plywood in any enclosure with moderate humidity will rot within a year, and as it breaks down it can grow mold that harms your animal. You have to seal every interior surface with at least two coats of a reptile-safe waterproof sealant — pond coating products like Pond Shield work well and cure fully non-toxic. Skip this step and you’re rebuilding in 12 months.
Wood does have one real advantage: it holds heat better than any other material, which makes it excellent for desert species like bearded dragons and uromastyx that need a warm ambient temperature throughout the enclosure.
Building the Enclosure Step by Step
Once your material is chosen and your dimensions are set, the build itself follows a logical sequence. Skipping steps here, especially sealing and ventilation, is where most DIY enclosures fail within the first year.
Measure and mark all panels before cutting anything.
Cut panels to size using a circular saw or table saw with a fine-tooth blade.
Dry-fit all pieces without adhesive to check for gaps and square corners.
Sand cut edges smooth, then seal interior surfaces before assembly.
Join panels with solvent cement for PVC, or wood glue plus screws for plywood builds.
Install ventilation panels and door hardware before final sealing.
Apply a bead of reptile-safe silicone along every interior seam and let it cure fully. At least 48 hours before introducing any animal.
Cutting, Joining, and Sealing the Frame
Measure twice, cut once is not a cliché here. A 1/8-inch gap in a corner joint will let humidity escape in a tropical build or let a small lizard squeeze through. For PVC foam board, a circular saw with a 40-tooth blade gives clean edges. Use PVC solvent cement like Weld-On 16 for bonding panels; it creates a near-permanent chemical weld in under a minute.
For plywood builds, pre-drill screw holes to avoid splitting, and use waterproof wood glue at every joint before driving screws. Once assembled, coat every interior surface with two full coats of a reptile-safe sealant. Pond Shield is a reliable option and cures fully non-toxic within 72 hours.
Ventilation Placement That Actually Moves Air
Most builders put vents in one spot and call it done. That creates a dead zone. Cross-ventilation, placing intake vents low on one side and exhaust vents high on the opposite side, moves air through the whole enclosure, not just past one corner.
For a 4×2×2 build, a 12×6-inch aluminum mesh panel low on the front and a matching panel high on the back works well. Use 1/16-inch mesh for small juveniles; adults can handle standard 1/8-inch hardware cloth.
Door and Access Design That Makes Daily Care Easy
Front-opening doors make daily feeding and spot cleaning much less stressful for both you and the animal. Sliding glass doors on an aluminum track are a common choice. They seal well and look clean. French-style hinged doors work too, but they need magnetic closures to stay shut reliably.
Build your door opening at least 12 inches wide so you can reach the full back of the enclosure without awkward angles. A second small access panel on the top is worth adding for lighting and sensor cables.
Temperature Gradients, UVB Lighting, and Humidity: Getting All Three Right
These three environmental factors interact constantly, and getting one wrong throws off the others. The good news is that if you plan the hardware placement during the build, managing all three becomes straightforward.
Heating Elements and the Gradient Setup Most Builders Get Wrong
The most common mistake is centering the heat source. Place your basking element at one end, not the middle, so the enclosure creates a genuine temperature drop from the hot end to the cool end. For a bearded dragon in a 5-foot enclosure, you’re targeting around 105°F at the basking spot and 80–85°F at the cool end. That 20–25°F difference is what lets the animal regulate its own body temperature.
Use a radiant heat panel or a halogen flood bulb for basking. Avoid heat rocks entirely; they produce uneven surface heat and cause burns. A good digital thermometer with two probes, one at each end, gives you real data instead of guesswork. Inkbird makes reliable dual-probe thermostats in the $30–$50 range that also let you set temperature limits.
UVB and Full-Spectrum Lighting Placement
UVB lighting needs to run the length of the basking zone, not the full enclosure. A T5 HO (high-output) fluorescent tube mounted 10–12 inches above the basking surface delivers the right UV index for most diurnal lizards. Arcadia and Zoo Med both make T5 HO bulbs with solid, documented UV output.
Replace UVB bulbs every 12 months even if they still produce visible light. The UV output drops well before the bulb burns out, and an animal getting no UVB will develop metabolic bone disease over time.
Humidity Control and Misting Systems
For tropical species, a timed misting system like the Exo Terra Monsoon handles daily humidity spikes automatically. Set it to mist twice daily, once in the morning and once in the evening, and let the enclosure dry out between cycles. Stagnant moisture with no drying period breeds bacteria.
For arid species, a single hand misting every few days is enough. Monitor with a digital hygrometer, not an analog one; analog gauges drift significantly over time.
Bioactive Lizard Terrariums: Drainage Layers and Substrate Selection
A bioactive setup uses live plants, microfauna, and a layered substrate to process waste naturally. It works well for lizards reptiles that need stable humidity, but the drainage layer is non-negotiable. Skip it and the substrate turns anaerobic within weeks.
Building a Drainage Layer That Prevents Anaerobic Bacteria
The drainage layer sits at the bottom of the enclosure and keeps excess water from saturating the substrate above it. Use 2–3 inches of LECA (lightweight expanded clay aggregate) as the base. Add a layer of fine mesh or hydroballs above the LECA to keep substrate from mixing down into it.
Without this separation, water pools at the bottom and oxygen can’t reach the lower layers. Anaerobic bacteria then produce hydrogen sulfide, a gas that smells like rotten eggs and harms your animal. The drainage layer prevents that entirely.
Substrate Mixes by Species Climate Type
For tropical species like crested geckos, a mix of coconut fiber, orchid bark, and sphagnum moss holds humidity well and supports plant roots. A 60/30/10 ratio of coco fiber to orchid bark to sphagnum works as a practical starting point.
For arid species like bearded dragons or uromastyx, use a mix of play sand and organic topsoil in roughly equal parts. This drains fast, doesn’t compact badly, and lets the lizard dig naturally. Avoid calcium sand; it clumps when wet and can cause impaction if ingested. The petterrarium.com guides on bioactive substrate go deeper on species-specific ratios if you want to fine-tune the mix for a specific animal.
Frequently Asked Questions
How big should a custom enclosure be for a bearded dragon?
For an adult bearded dragon, 4 feet long by 2 feet wide by 2 feet tall is the practical minimum. A 5×2×2 build gives a better thermal gradient and room to add enrichment without crowding the animal.
Can I use regular lumber from a hardware store for a lizard enclosure?
Yes, but only if you seal it properly. Untreated pine or plywood off-gasses resins and absorbs moisture fast. Apply two coats of a reptile-safe sealant (Pond Shield works well) and let it cure at least 72 hours before putting any animal inside.
Do I need a drainage layer if I’m not doing a fully bioactive setup?
No. Drainage layers are for bioactive builds with live plants and soil-based substrate. A standard setup with paper towel, tile, or loose arid substrate doesn’t need one. Adding unnecessary layers just creates dead space.
How often should I replace UVB bulbs in a custom build?
Replace T5 HO UVB bulbs every 12 months. The visible light lasts longer, but UV output drops significantly before the bulb burns out. Running a dead UVB bulb is one of the quieter causes of metabolic bone disease in diurnal lizards reptiles.