Want to bring a slice of nature into your home? Creating a miniature ecosystem with vibrant, eye-catching foliage is easier than you think. Fittonia, often called nerve plants, steal the show with their intricate vein patterns and bold hues. These tropical beauties thrive in humid environments, making them perfect for enclosed displays.
This guide walks you through building a stunning display that highlights their unique charm. Whether you’re new to indoor gardening or a seasoned pro, our step-by-step approach ensures success. You’ll learn how to balance soil layers, manage moisture, and choose the right container to let those colorful leaves shine.
Why focus on Fittonia? Their compact size and low-maintenance needs make them ideal for small spaces. Plus, their striking appearance adds instant elegance to any room. For more tips on designing with these gems, check out our detailed guide to crafting a thriving Fittonia.
We’ll cover everything from gathering materials to long-term care. Light levels, watering routines, and container selection are all explained in simple terms. Ready to create a living work of art? Let’s dive in!
Getting Started with Your Nerve Plant Terrarium
Unlock the secrets to crafting a vibrant, low-maintenance indoor oasis. Fittonia’s delicate leaves, splashed with pink, red, or white veins, create living art that fits on tabletops or shelves. Their small size and humidity-loving nature make them stars of enclosed displays.
Understanding the Appeal of Fittonia
These tropical gems captivate with their contrasting leaf patterns and adaptability. Unlike fussy houseplants, they flourish in steady moisture—a trait that makes glass containers ideal. Their compact growth ensures they won’t outgrow small spaces, while their vivid colors add warmth to modern or rustic decors.
What to Expect from This DIY Guide
We’ll simplify the process into three core phases: planning, building, and maintaining. First, you’ll learn how to select materials that balance airflow and humidity. Next, discover design tricks for arranging layers and companions like moss. Finally, master care routines to keep your display thriving for years.
Customization is key. Whether you prefer geometric glass or repurposed jars, we’ll show how to tailor setups to your style. By the end, you’ll have the confidence to create—and troubleshoot—a miniature ecosystem that sparks joy daily.
Gathering Materials and Supplies
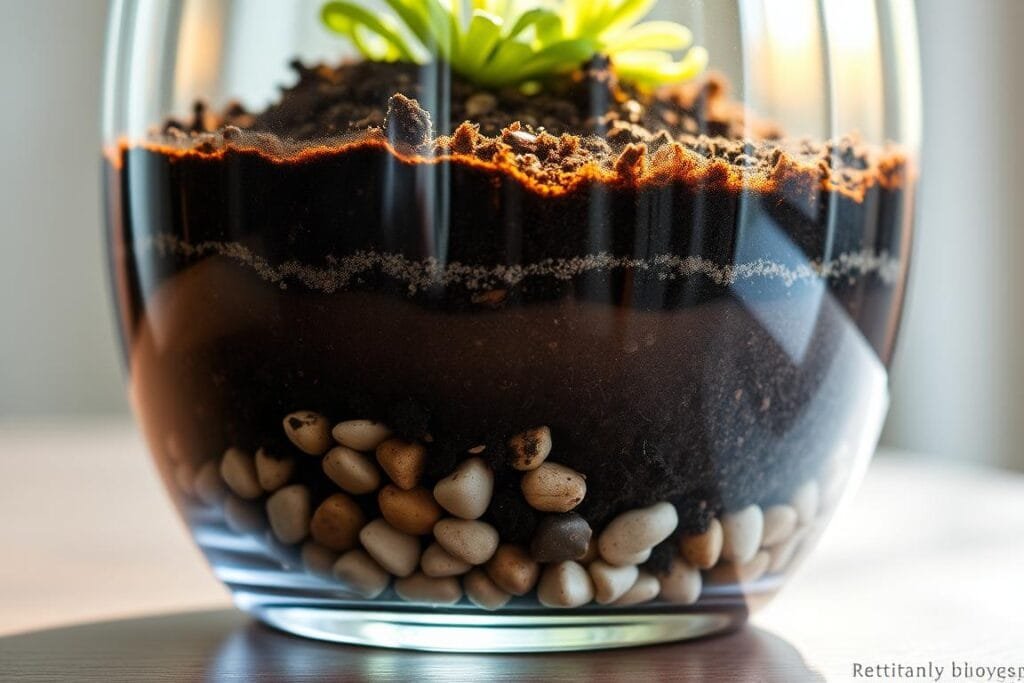
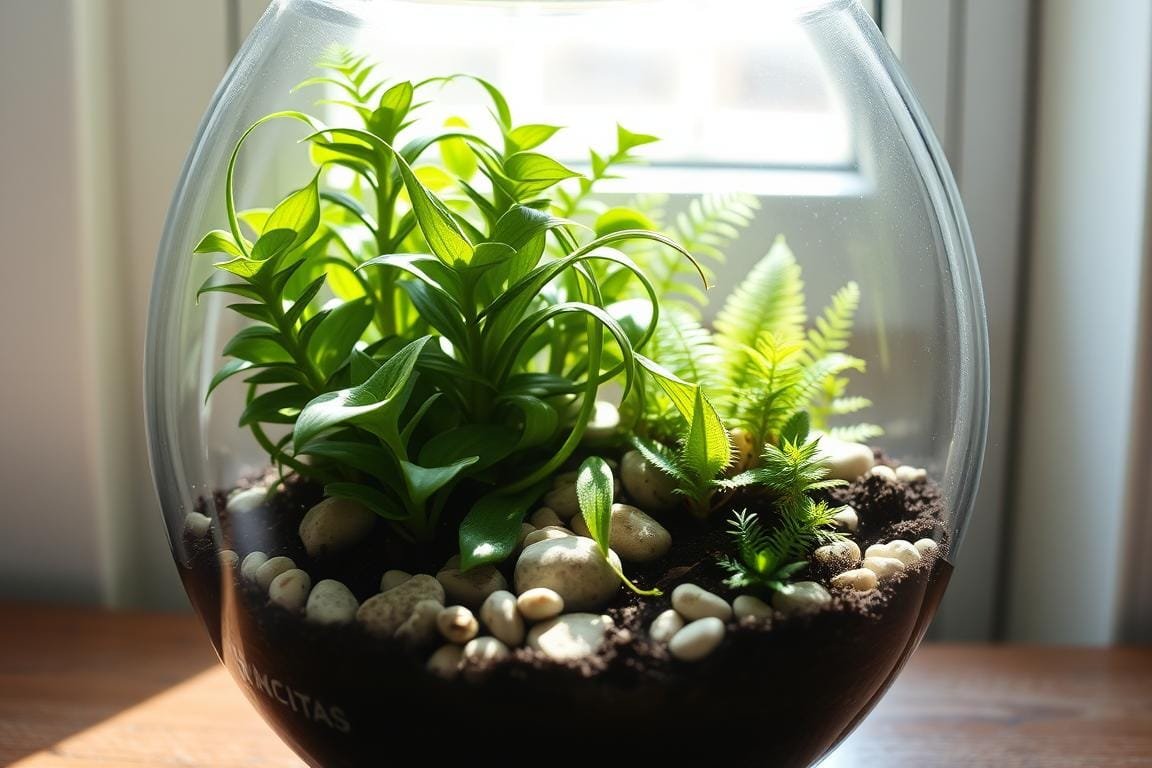
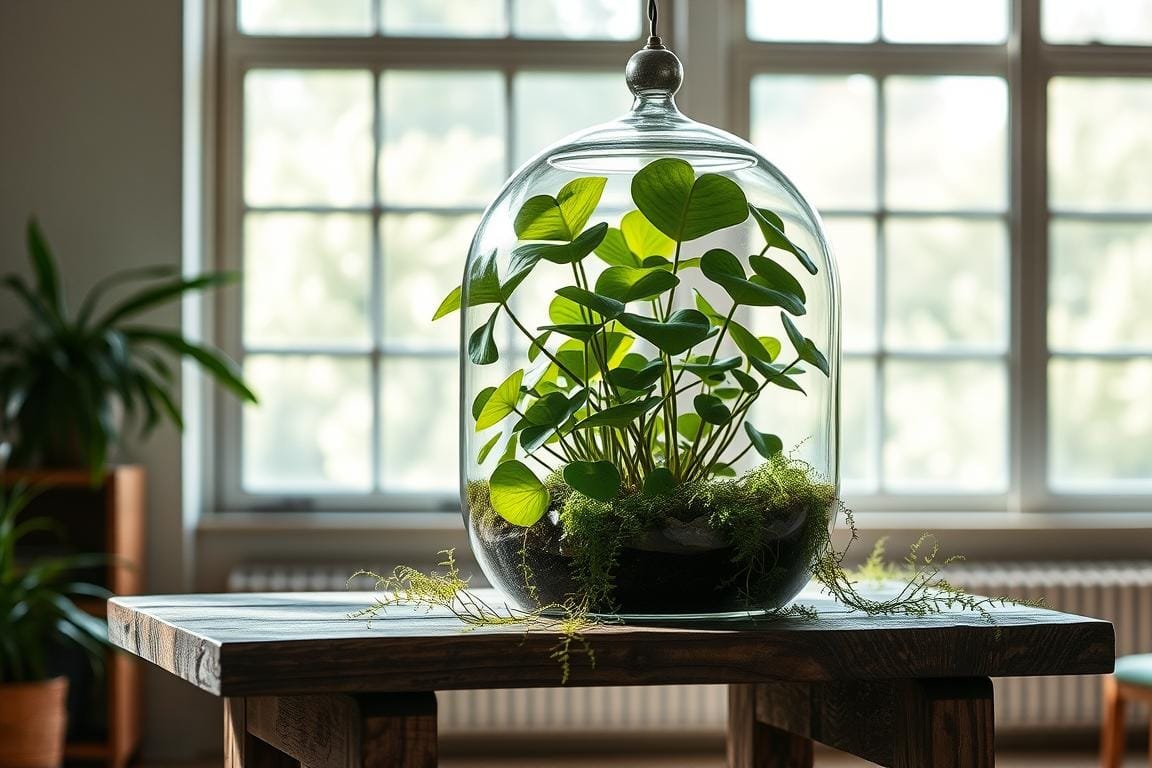
The right supplies turn a glass container into a living masterpiece. Start with a clear vessel that lets you admire every detail. A snug-fitting lid helps maintain humidity—key for tropical species like Fittonia. Popular choices include apothecary jars or geometric designs with wide openings for easy access.
Choosing the Right Container and Lid
Balance form and function when selecting your base. Glass jars with tight seals prevent moisture escape, while open-top bowls suit drier setups. For small spaces, consider compact designs under 8″ tall. This step-by-step guide shows how container size affects watering frequency.
| Container Type | Lid Type | Visibility | Best For |
|---|---|---|---|
| Glass Jar | Screw-top | 360° View | Compact Displays |
| Geometric Terrarium | Sliding Panel | Angled Perspectives | Modern Decor |
| Apothecary Jar | Hinged Lid | Top-Down Focus | Tall Arrangements |
Selecting Substrate, Drainage Options, and Hardscape Elements
Build your foundation with a three-layer system:
- Drainage: Gravel or LECA balls (1-2″ layer)
- Moisture Control: Activated charcoal to prevent odors
- Growth Medium: Peat-based mix with perlite
Add personality with seiryu stones or driftwood. These elements guide water flow while creating natural-looking slopes. Source materials from garden centers specializing in houseplant supplies—quality matters for long-term success.
Step-by-Step Build Process
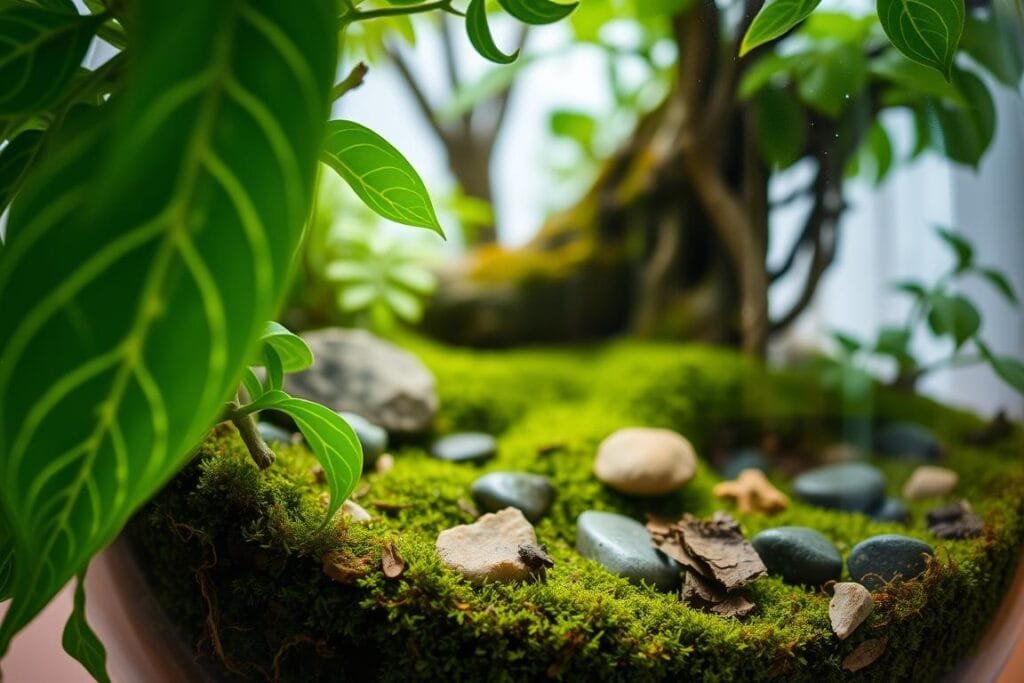
Transform ordinary glass into a lush landscape with these easy-to-follow steps. Building your miniature ecosystem combines creativity with practical layering techniques. Let’s break down the process into manageable stages for stunning results.
Designing the Substrate Slope and Drainage Layer
Start by adding a 1-inch gravel layer to your glass container. This foundation prevents waterlogging. Top it with activated charcoal to keep the environment fresh. Create a gentle slope using your soil mix—this adds visual depth and directs moisture flow.
Follow this layered approach:
- Drainage: Coarse sand or pebbles (bottom layer)
- Filter: Horticultural charcoal (middle barrier)
- Growth Base: Peat-perlite blend (top layer)
Planting Your Fittonia and Arranging Companions
Use tweezers to position stem cuttings or small Fittonia clusters. Dig shallow holes in the soil mix, then nestle roots gently. Space plants 2-3 inches apart for growth room. Add texture with sheet moss between specimens.
Follow these placement tips:
- Taller ferns at the back, colorful Fittonia front-center
- Rocks or driftwood as natural dividers
- Moss pressed lightly onto exposed soil
Rotate your creation to ensure even indirect light exposure. For more design inspiration, explore this guide to crafting the perfect terrarium environment. Remember—patience yields the most natural-looking arrangements!
Caring for Your Fittonia and Nerve Plants
Keeping your miniature garden thriving requires understanding its tropical needs. These colorful specimens communicate through their leaves—drooping dramatically when thirsty but bouncing back quickly with proper attention. Let’s explore how to maintain that lush appearance year-round.
Light and Climate Essentials
Bright, indirect light keeps patterns vibrant without scorching delicate foliage. East-facing windowsills or spaces 3-5 feet from south-facing glass work best. Avoid direct sunlight, which causes faded colors and crispy edges.
Maintain 65-80°F temperatures and 60-70% humidity. Group displays with other moisture-loving varieties or use a pebble tray to boost ambient moisture. Glass containers naturally retain humidity, reducing daily maintenance.
Moisture Management Strategies
Water when the topsoil feels dry—about every 5-7 days. Use a narrow-spout can to target roots without drenching leaves. Mist moss surfaces lightly between waterings to maintain emerald-green texture.
Choose a well-draining pot with a peat-perlite mix to prevent soggy roots. If leaves yellow, check drainage holes for blockages. A monthly diluted fertilizer dose during spring and summer supports steady growth.
Rotate your display weekly for even light exposure. Wipe leaves gently with a damp cloth to keep them dust-free and photosynthesizing efficiently. Small tweaks create big results in preserving your living artwork!
Troubleshooting and Maintenance for Your Terrarium
Even the most carefully crafted displays need occasional tweaks. Spotting issues early keeps your miniature garden vibrant and healthy. Let’s explore simple fixes for common challenges.
Identifying and Addressing Overwatering or Underwatering
Yellow leaves often signal too much moisture. Check if the soil feels soggy or smells musty. Reduce watering frequency and ensure your container has proper airflow.
Wilting stems? Your setup might need hydration. Gently water the base while avoiding leaf surfaces. Adjust routines seasonally—less in winter, more during growth periods.
Pruning, Refreshing Moss, and Long-Term Care
Trim overgrown stems with clean scissors to maintain shape. Remove faded leaves to redirect energy to new growth. Fluff moss patches monthly to prevent compaction.
Rotate your display weekly for even sunlight distribution. If colors fade, move it farther from direct light. Refresh companion varieties every 6-12 months for visual interest.
Propagate healthy cuttings by placing trimmed stems in water. Once roots form, replant them to expand your collection. Small adjustments keep your living artwork thriving for years!
Wrapping Up Your DIY Nerve Plant Terrarium Project
Your vibrant miniature ecosystem is now complete! From selecting supplies to perfecting potting layers, you’ve built a self-sustaining environment where delicate veins contrast with lush greenery. Take a moment to admire how light dances across leaf patterns and hardscape textures.
Double-check key requirements before celebrating. Ensure temperature stays between 65-80°F and humidity remains steady. Gently press soil around roots to secure specimens, and mist surfaces if moss looks dry. These final tweaks help your creation thrive.
Over the next few weeks, observe how your arrangement adapts. Water sparingly when the top layer feels dry, and rotate the display weekly for even growth. Those intricate veins will deepen in color with proper indirect light.
Share photos of your living artwork online—inspire others with your unique blend of natural elements! With thoughtful care and quality supplies, this environment evolves into a lasting centerpiece. It’s proof that even small spaces can host breathtaking nature displays.
Remember: success lies in balancing root health, moisture levels, and visual harmony. Your dedication transforms everyday corners into conversation-starting escapes. Now sit back, relax, and watch those crimson veins work their magic!

