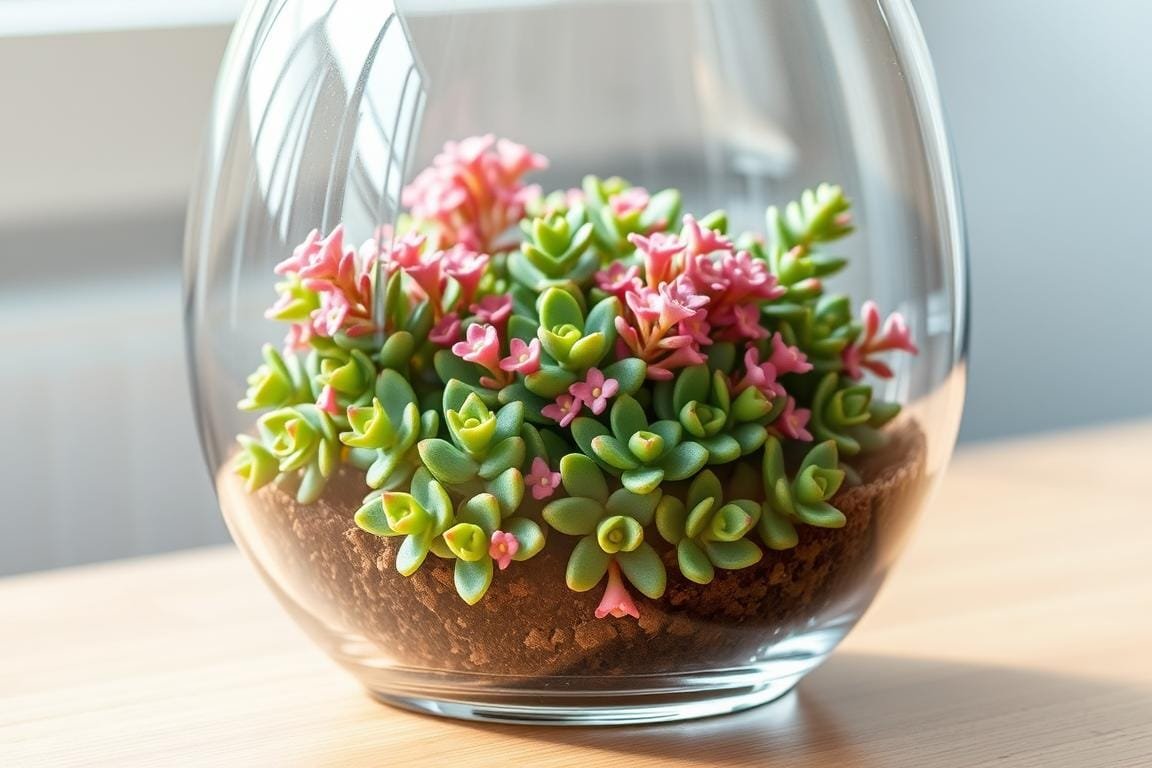
Bringing nature indoors has never been easier—or more stunning. Imagine a self-contained garden bursting with vibrant blooms, thriving in a glass container on your desk or windowsill. This guide will show you how to create a captivating miniature ecosystem using the hardy, colorful Kalanchoe blossfeldiana, often called flaming Katy.
Why choose this particular plant? Flaming Katy thrives in confined spaces and requires minimal care, making it a perfect match for terrariums. Its thick leaves store water, so occasional forgetfulness won’t spell disaster. Plus, its clusters of bright flowers add a cheerful pop of color year-round.
Low-maintenance plants like these are ideal for busy lifestyles. A well-designed terrarium acts as its own tiny world, recycling moisture and needing little interference. You’ll spend less time worrying about watering and more time enjoying your living art piece.
In this article, you’ll learn everything from selecting the right container to troubleshooting common issues. We’ll break down each step clearly, so even first-time gardeners can succeed. Let’s turn that empty jar into a thriving slice of nature!
Introduction to Creating Your Miniature Garden
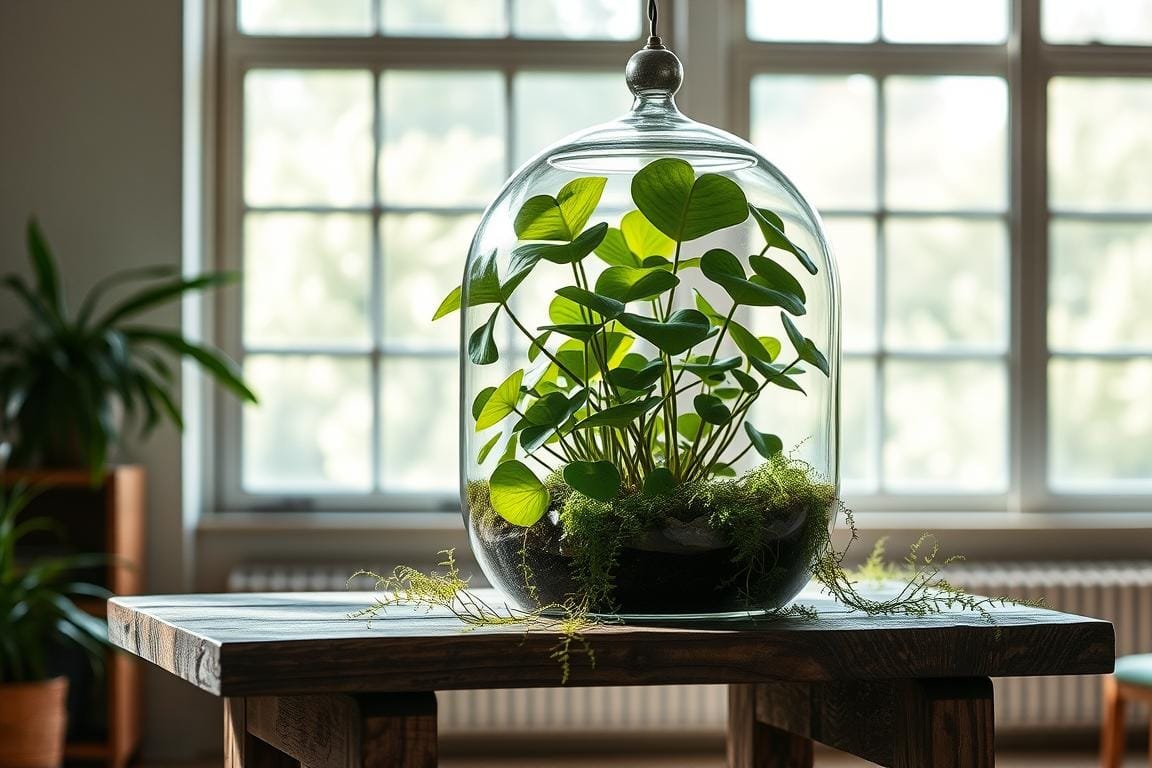
Designing a self-sustaining plant display is easier than you think. A miniature garden enclosed in glass creates a living ecosystem where moisture and nutrients recycle naturally. These setups mimic outdoor environments while requiring minimal intervention—perfect for small spaces like apartments or offices.
Succulents thrive in these conditions due to their water-storing leaves. They need indirect sunlight to prevent scorching, making north-facing windowsills ideal spots. Proper soil drainage is critical—a mix of cactus soil and perlite prevents root rot.
Here’s a quick comparison of open vs. closed systems:
| Feature | Open System | Closed System |
|---|---|---|
| Best For | Drought-tolerant plants | Humidity-loving varieties |
| Light Needs | Bright, indirect | Moderate, filtered |
| Watering | Every 2-3 weeks | Monthly or less |
For beginners, an open-style closed terrarium design offers flexibility. Add decorative stones or moss to personalize your creation. With the right balance of light and soil, your tiny garden becomes a fuss-free focal point.
Ready to build yours? Let’s explore the materials and techniques needed for success.
Understanding the Unique Features of Kalanchoe
Discovering the perfect plant for your indoor garden starts with understanding its unique traits. The star of our show—often called flaming Katy—boasts thick, waxy leaves that store water like nature’s tiny reservoirs. These fleshy features allow it to thrive in dry conditions, making it a low-maintenance superstar for busy lifestyles.
Exploring the Flaming Katy Attributes
This succulent’s charm lies in its versatility. Its oval-shaped leaves range from deep green to reddish edges, creating subtle contrast. During cooler months, clusters of bright blooms emerge in fiery reds, sunny yellows, or soft pinks. These flowers last for weeks, offering year-round color without constant upkeep.
Recognizing Plant Benefits for Indoor Gardens
Why do succulent enthusiasts love flaming Katy? Its compact size fits snugly in small containers, while its slow growth minimizes pruning. Unlike fussy houseplants, it tolerates occasional neglect and adapts to various light levels. This resilience makes it ideal for creating decorative green spaces in offices or apartments.
Pair it with other drought-tolerant plants for a textured display. The combination of its glossy leaves and vibrant flowers adds visual depth to any arrangement. Best of all? You’ll enjoy a living centerpiece that demands little but delivers abundant beauty.
Essential Materials and Tools for a Successful Terrarium
Building your miniature oasis begins with gathering the right supplies. The right combination of functional and decorative elements ensures your plants thrive while creating a visually appealing display. Let’s break down what you’ll need to craft a self-sustaining garden.
Choosing the Ideal Container and Soil Mix
Start with a clear glass jar or bowl. These let you monitor moisture levels and root health. Containers without drainage holes work best for succulents—they prevent water from pooling at the bottom.
Your soil mix is critical. Combine cactus soil with perlite or coarse sand for fast drainage. This blend mimics the natural, rocky environments these plants love. Add a layer of gravel or pebbles at the base to further prevent soggy roots.
Gathering Decorative and Functional Elements
Activated charcoal keeps the environment fresh by filtering impurities. Place it between your gravel layer and soil for best results. Decorative stones, driftwood, or colored sand add personality while complementing your plants’ textures.
Consider adding preserved moss as a finishing touch. It creates a lush look without introducing excess moisture. Keep decorations small to maintain balance in your tiny garden.
| Essential Items | Purpose | Optional Add-Ons |
|---|---|---|
| Glass container | Holds plants & soil | Miniature figurines |
| Cactus soil mix | Provides nutrients | Colored pebbles |
| Activated charcoal | Prevents mold | Driftwood pieces |
Pair your flaming Katy with other small, drought-tolerant plants for variety. This creates visual interest while ensuring all species have similar care needs. Remember: simplicity often yields the most striking results!
Preparing the Terrarium Base and Drainage Layers
A sturdy foundation transforms your glass container into a thriving ecosystem. Proper drainage prevents root rot while maintaining soil dry conditions your succulents crave. Let’s build layers that balance moisture control and airflow.
Layering Gravel and Charcoal for Optimal Drainage
Start with 1-2 inches of gravel or crushed stone at the bottom. This creates space for excess water to collect away from roots. Next, add a thin layer of activated charcoal—about half an inch. It neutralizes odors and keeps the environment fresh.
Place a breathable barrier over these materials. Landscape fabric or sphagnum moss works perfectly. This filter prevents soil from sifting downward while allowing moisture to flow freely.
Keep layers proportional to your container’s size. For jars under 6 inches tall, limit gravel to 1 inch. Taller vessels can handle 2 inches. Always leave room for plant roots—aim for at least 3 inches of soil depth above your drainage system.
These steps create ideal growing conditions by mimicking natural habitats. Your plants get hydration without drowning. Now your miniature garden has the support it needs to flourish!
A Step-by-Step Guide to Planting Your Kalanchoe Terrarium
Transforming your container into a living masterpiece starts with smart planting techniques. Let’s dive into arranging your drought-tolerant varieties for maximum visual impact and health.
Arranging and Planting Succulent Varieties
Begin by removing each plant from its nursery pot. Gently squeeze the sides to loosen the roots, then tilt it sideways while supporting the base. Tease apart any tightly wound roots to encourage healthy growth.
Create groupings with contrasting heights and textures. Place taller specimens toward the back and trailing types near the edges. Leave 1-2 inches between plants for air circulation—this prevents moisture buildup.
Propagating New Plantlets from Mature Leaves
Snap off plump, healthy leaves from the mother plant. Let them dry for 2-3 days until calloused. Place them on well-draining soil, misting lightly every 5 days. New roots typically emerge within 3 weeks.
Properly Positioning the Plants within the Soil
Dig small holes deep enough to cover the root systems completely. Avoid burying stems—this can lead to rot. Angle plants slightly outward to showcase their shape. For succulent terrarium designs, position light-loving varieties near the container’s center.
Top with decorative pebbles to stabilize plants and enhance drainage. This finishing touch adds polish while keeping soil in place during watering.
Designing a Striking Miniature Garden Display
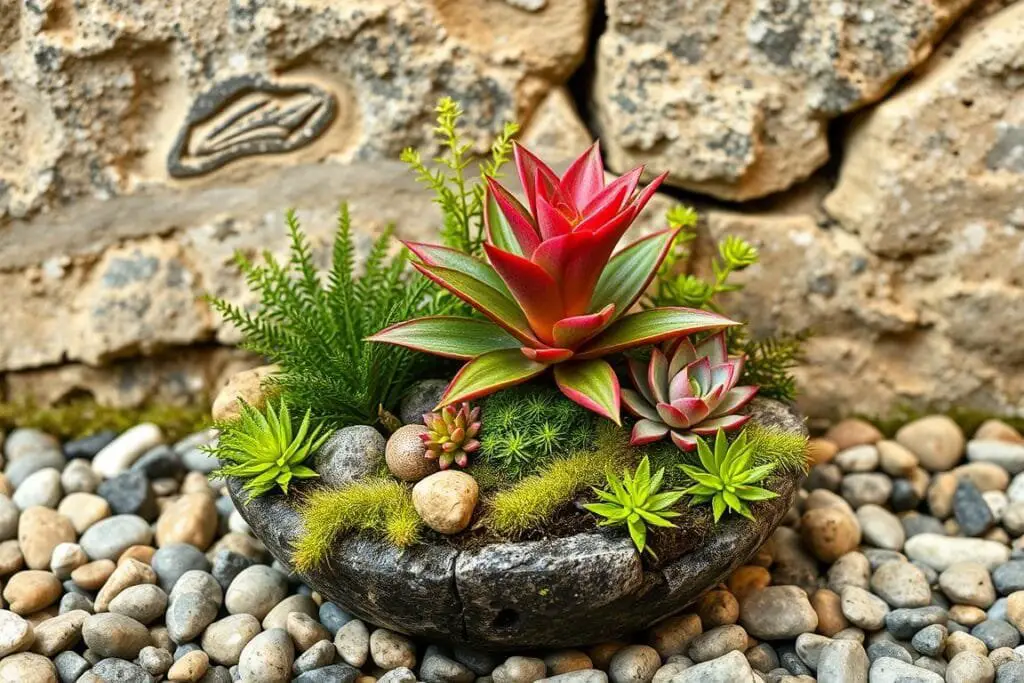
Crafting a visually stunning miniature garden requires balancing artistry with plant care. Start by selecting plants and decorations that work together like puzzle pieces. The right mix creates depth while keeping your setup easy to maintain.
Incorporating Contrasting Colors and Textures
Combine bold foliage with delicate blooms for eye-catching contrast. Pair spiky plants with rounded leaves to add visual drama. Use dark-colored stones against light sand to highlight different areas of your display.
Vary plant sizes to create natural-looking layers. Place taller specimens toward the back and low-growing varieties up front. This size variation mimics real outdoor gardens, making your creation feel more authentic.
| Design Element | Examples | Purpose |
|---|---|---|
| Color Contrast | Red stones + green moss | Creates focal points |
| Texture Mix | Smooth pebbles + rough bark | Adds tactile interest |
| Size Variation | Tall grasses + ground cover | Builds depth |
Natural decorations like driftwood or quartz crystals make excellent centerpieces. These additions serve dual purposes—they look beautiful and help anchor plants in the soil. For themed gardens, try tiny fairy lights or miniature benches.
Remember: every element should enhance the whole display. Test arrangements before securing plants. With thoughtful planning, your living artwork becomes a conversation starter that thrives with minimal care.
Optimal Lighting and Watering Strategies for Terrarium Health
What separates a thriving miniature garden from a wilted one? The answer lies in balancing two key elements: light exposure and moisture control. Get this right, and your setup becomes a self-sustaining showpiece that demands little effort.
Managing Indirect Light and Moisture Levels
Bright, filtered light keeps succulents happy without scorching their leaves. Place your glass garden near east- or north-facing windows for gentle morning rays. Avoid direct afternoon sun—it acts like a magnifying glass inside enclosed spaces.
Water sparingly. Wait until the soil feels dry 1 inch below the surface. Use a narrow-spout watering can to target roots, not leaves. Overly damp soil leads to mushy stems—a clear sign you’ve gone too far.
| Light Type | Best For | Risks |
|---|---|---|
| Indirect | Leafy growth | Leggy plants (if too dim) |
| Direct | Desert species | Leaf burn |
Low-light homes? Try LED grow lights. Position them 6-12 inches above plants for 6-8 hours daily. This mimics natural cycles while preventing heat damage.
Watch for condensation. Foggy glass means excess humidity—leave the lid off for a day. Crispy leaf edges? Boost watering frequency slightly. With these easy care adjustments, your green haven stays vibrant year-round.
Caring for Your Kalanchoe Terrarium Over Time
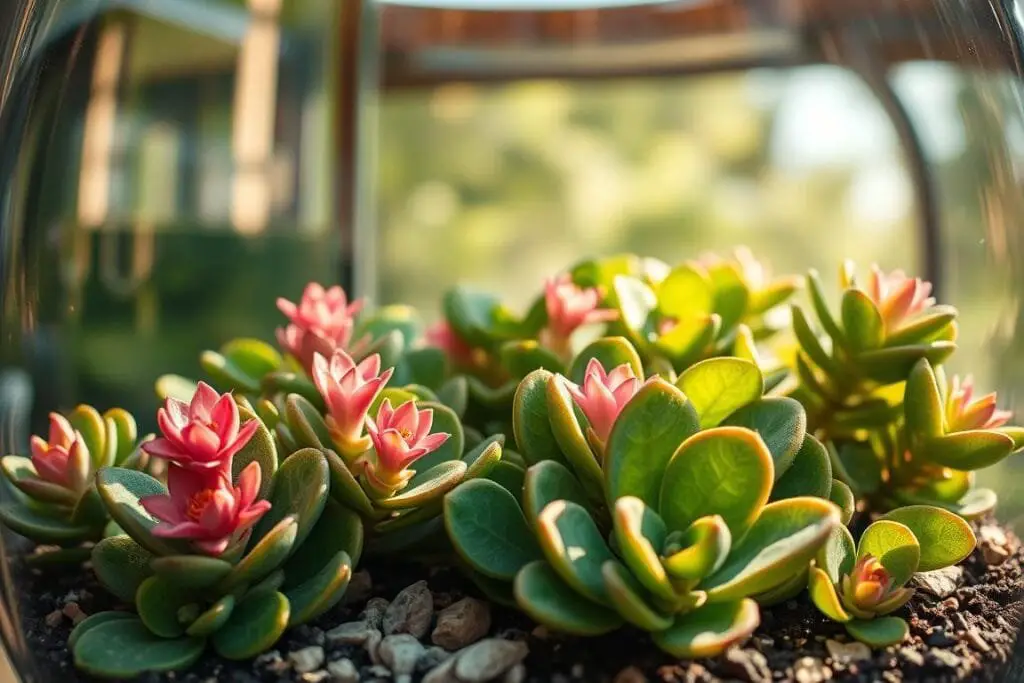
Maintaining your living masterpiece requires consistent care to keep it thriving. Regular checkups and minor adjustments ensure your plants stay vibrant through the seasons. Let’s explore simple strategies to preserve its beauty for years.
Regular Maintenance and pH Adjustments
Test soil acidity every 3-4 months using a pH meter. Succulents prefer slightly alkaline conditions (6.5-7.5). If levels dip below 6, mix crushed eggshells into the topsoil—they slowly release calcium to neutralize acidity.
Check moisture weekly by pressing a finger 1 inch into the soil. Water only when it feels dry. Overly damp conditions invite root rot, so adjust your routine based on seasonal humidity changes.
Effective Pruning Techniques for Healthy Growth
Trim spent flowers and yellowing leaves with sterilized scissors. Make clean cuts near the base to encourage new shoots. Rotate your container monthly to ensure even light exposure, preventing lopsided growth.
- Remove dead foliage promptly to deter mold
- Pinch back leggy stems to maintain compact shapes
- Wipe dust from leaves using a soft brush
For detailed guidance, consult this succulent terrarium care guide. With mindful attention to light, water, and soil balance, your miniature garden becomes a lasting source of joy.
Troubleshooting Common Issues in Your Kalanchoe Terrarium
Even the most carefully crafted gardens can face challenges. Spotting problems early ensures your setup stays healthy and vibrant. Let’s explore solutions for common hurdles every plant enthusiast might encounter.
Identifying Overwatering and Lighting Challenges
Yellow leaves or mushy stems often signal too much water. Check soil moisture by pressing a finger 1 inch deep—if it feels damp, hold off on watering. Improve drainage by mixing in coarse sand or perlite to keep roots dry.
Leggy growth or pale leaves? Your plant likely needs more light. Move it closer to a bright window but avoid direct sun. Rotate the container weekly for even exposure.
Addressing Pests and Soil Imbalances
Tiny webs or sticky residue? Spider mites or aphids might be present. Wipe leaves with diluted neem oil—a natural pest deterrent. For soil issues, test pH levels monthly. Add crushed eggshells if acidity rises above 7.5.
White crust on soil surfaces indicates mineral buildup. Flush the soil with distilled water every 3 months. Replace the top layer if mold appears.
| Issue | Signs | Quick Fix |
|---|---|---|
| Overwatering | Soggy soil, wilting | Let soil dry completely |
| Low Light | Stretched stems | Relocate near east window |
| Pests | Visible insects | Apply insecticidal soap |
Make sure temperatures stay between 65-75°F for optimal conditions. Avoid placing near heating vents or drafty areas. With these adjustments, your green haven will bounce back stronger than ever!
Reflecting on Your Journey with a Beautiful Kalanchoe Terrarium
Crafting your miniature garden marks the beginning of a rewarding relationship with nature. From selecting the right container to mastering moisture levels, each step builds a self-sustaining ecosystem. The careful layering of gravel, charcoal, and soil protects delicate roots, while strategic plant placement ensures balanced growth.
Working with drought-tolerant plants teaches patience and precision. Their thick leaves and low needs make them forgiving partners in your creative journey. Remember: even minor adjustments to light or watering routines yield dramatic results over time.
Every living display evolves uniquely, blending color and texture in unexpected ways. Whether placed near a sunny window or under gentle LED lights, your creation thrives when you make sure conditions match its natural habitat. Those occasional yellow leaves or leggy stems? They’re just opportunities to refine your skills.
As you continue exploring indoor gardening, keep these principles in mind. Experiment with new arrangements, but always prioritize easy care and proper drainage. Your tiny oasis isn’t just a decoration—it’s proof that great things grow from thoughtful beginnings.

