Creating a safe, comfortable home for your scaly friend is easier than you think! This guide walks you through everything you need to design a habitat that keeps your pet healthy and thriving. Whether you’re new to reptile care or looking to upgrade your setup, we’ve got you covered.
These active creatures thrive in environments that mimic their natural wetlands and meadows. Without proper space, temperature control, and hiding spots, they can become stressed—impacting their appetite and overall well-being. Our recommendations combine expert insights with practical tips for U.S. pet owners.
You’ll learn how to balance humidity levels, choose safe substrates, and create day-night temperature cycles. We’ll also explore feeding strategies and handling techniques to build trust with your reptile. Each step focuses on simplicity, using easy-to-find supplies from local pet stores.
Ready to give your companion the best possible care? Let’s dive into creating a habitat where curiosity meets comfort!
Understanding Your Garter Snake’s Needs
To care for your reptile, first explore its natural world. These active creatures inhabit diverse North American landscapes—from sunlit meadows to shaded forest streams. Observing their wild routines helps craft a habitat where they feel at home.
Natural Habitat and Behavior
Wild populations thrive near ponds and marshes, where swimming and hunting small prey come naturally. You’ll often spot them basking on rocks or weaving through tall grasses. ReptiFiles notes their semi-aquatic tendencies mean water access is non-negotiable in captivity.
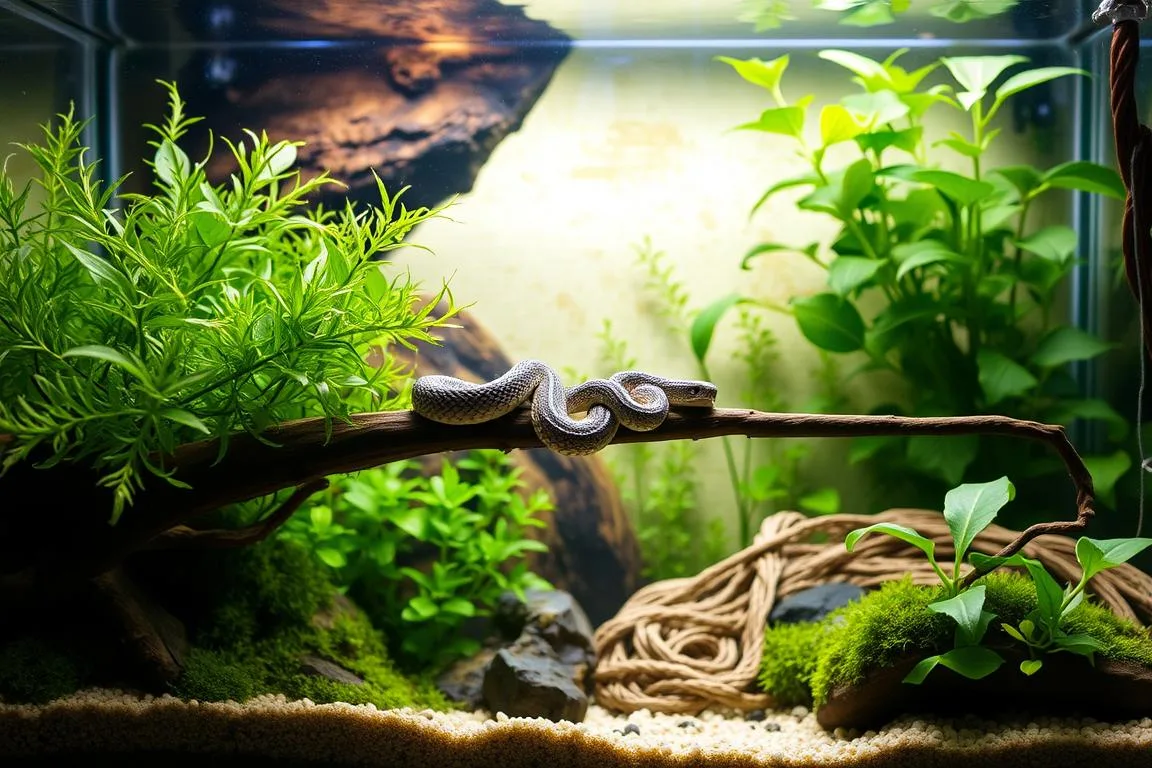
These reptiles also climb low shrubs, though they’re primarily ground-dwellers. Providing both open spaces and hiding spots mimics their balanced ecosystem. This reduces stress and encourages natural activities like exploring and thermoregulating.
Species-Specific Insights
Over 30 subspecies exist, each with unique traits. The Common Garter Snake grows up to 4 feet, while the California Red-sided dazzles with turquoise stripes. Some varieties prefer damper environments, while others favor drier terrain.
Researching your pet’s exact lineage ensures proper humidity and temperature settings. For example, Eastern varieties tolerate cooler zones than their Southwestern cousins. Matching these details creates a truly tailored living space that supports longevity and vitality.
Designing the Perfect Garter Snake Enclosure
Getting the right setup for your slithery companion requires balancing space, security, and essential features. Let’s break down how to create a functional home that supports natural behaviors while keeping safety front and center.
Space Requirements and Escape Prevention
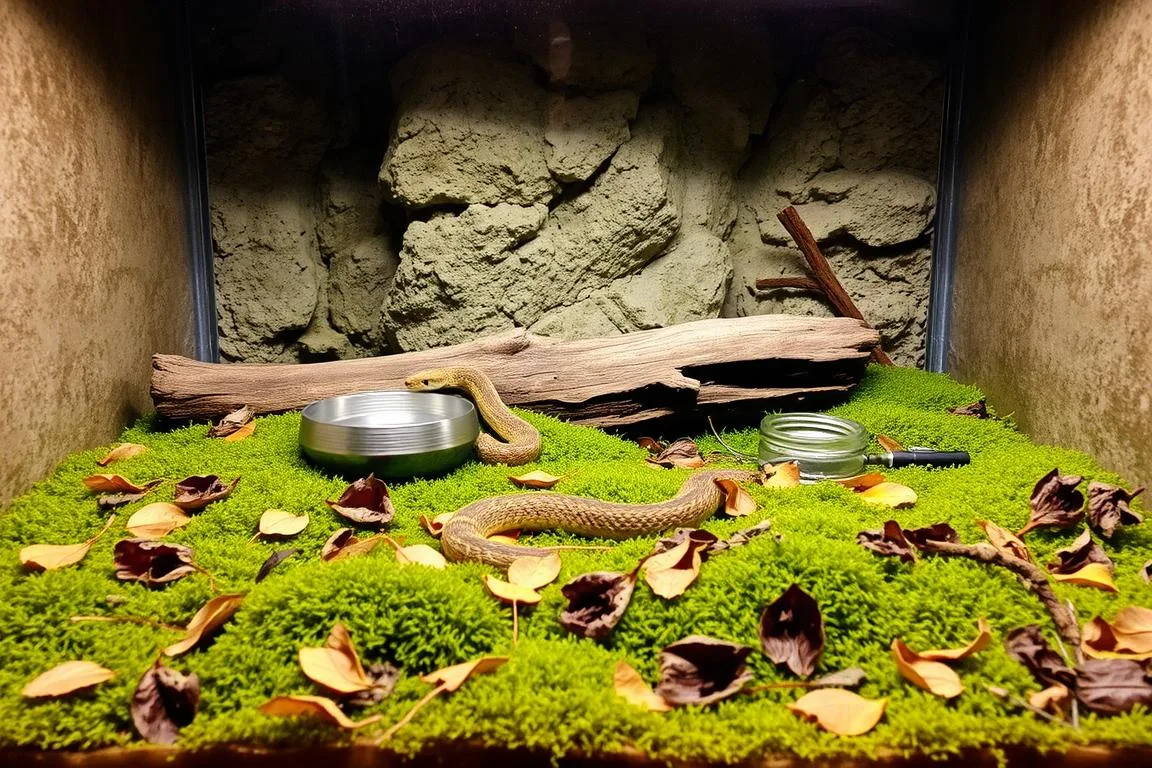
A 48”L x 24”W x 24”H habitat is the minimum recommended size for one adult. Larger spaces allow climbing branches, water dishes, and multiple hides—key for mental stimulation. Brands like Kages and Toad Ranch offer customizable enclosures with reinforced edges to prevent Houdini-like escapes.
Double-check locks and seams. These curious reptiles can slip through gaps as thin as a pencil! Tempered glass doors with childproof latches work best. Ventilation panels should let air flow without compromising security.
Must-Have Components for Success
Every thriving habitat needs these basics:
- Two snug hides (one warm, one cool)
- Digital thermostat for precise temperature control
- Low-wattage heat lamp and UVB lighting
- Coconut fiber or cypress mulch substrate
Add shallow water bowls for drinking and soaking. Rotating décor like faux plants or cork rounds keeps your pet engaged. Remember: A well-planned setup simplifies feeding, cleaning, and health monitoring down the road!
Creating a Temperature Gradient for Optimal Health
Temperature control is the cornerstone of a thriving reptile habitat. Unlike humans, these ectothermic animals rely on external warmth to regulate digestion, immunity, and energy levels. A well-designed thermal gradient lets your pet move between warmer and cooler areas as needed—mirroring their natural behavior in the wild.
Basking and Cool Zones
Start by dedicating one-third of the habitat to a basking zone. Maintain this area at 85-90°F using a low-wattage halogen lamp or ceramic heat emitter. The opposite side should stay between 75-80°F, creating a comfortable retreat. At night, allow temperatures to dip to 64-75°F to support natural circadian rhythms.
Position hides in both zones so your companion can thermoregulate without stress. A flat stone under the heat source provides an ideal sunning spot. Avoid placing water bowls directly in the basking area—evaporation can disrupt humidity levels.
Optimizing Heat Sources and Thermometer Usage
Heat mats work well for supplemental warmth but should never exceed 30% of the floor space. Pair all heating devices with a digital thermostat to prevent overheating. Zoo Med and Herpstat offer reliable models with precise controls.
Use two digital thermometers—one near the basking site and another in the cool zone. Check readings daily, especially during seasonal changes. If temperatures spike above 95°F, immediately adjust the heat source or increase ventilation. Consistent monitoring ensures your pet’s environment stays safe year-round.
Lighting and UVB: Boosting Natural Behavior
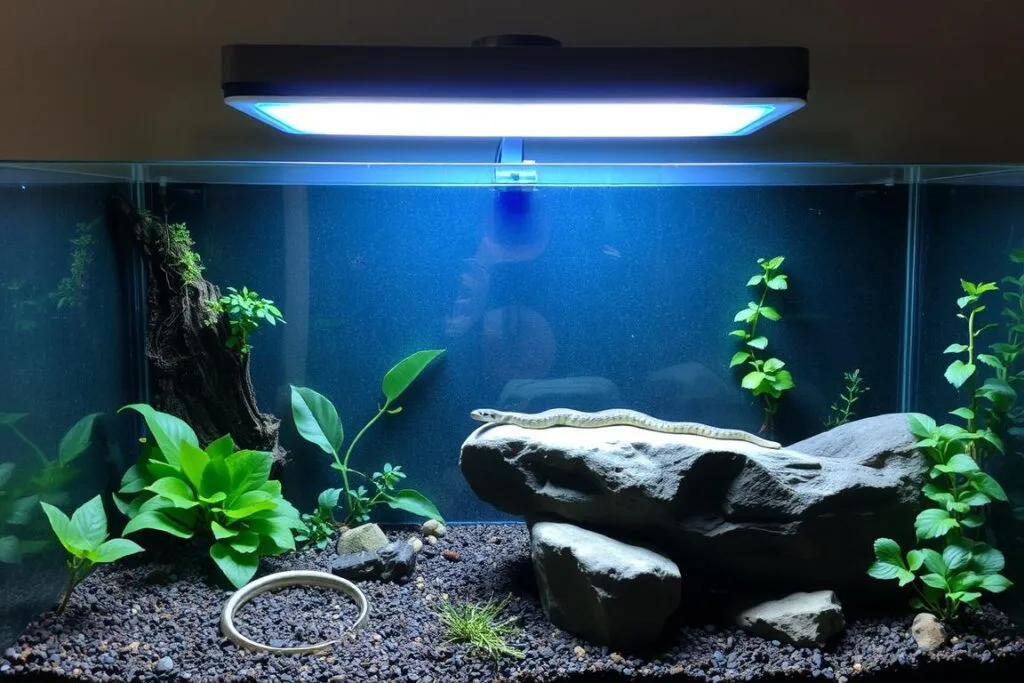
Light plays a starring role in your reptile’s daily rhythm. Proper illumination does more than brighten their space—it fuels essential biological processes and encourages natural activities like hunting and basking. Let’s shed light on creating a setup that keeps your pet thriving.
Why UVB Matters
UVB rays help reptiles produce vitamin D3, which is crucial for calcium absorption and bone health. Without it, pets can develop metabolic issues. Unlike regular lights, UVB bulbs mimic natural sunlight’s spectrum. Brands like Zoo Med ReptiSun or Arcadia T5 HO provide safe, effective options.
Setting Up Your Lighting System
Aim for 10-14 hours of light exposure during the day, followed by complete darkness at night. Place UVB fixtures over mesh tops 12-18 inches from basking spots. This prevents overheating while delivering a UV index of 2-3—ideal for most species.
Pair UVB with low-wattage ambient lights for general visibility. Use timers to maintain consistent cycles. Remember: Proper lighting supports digestion, immune function, and vibrant coloration. For deeper insights, explore our guide on reptile lighting essentials.
Rotate bulbs every 6-12 months as UV output fades. Observe your pet’s behavior—active exploration and regular shedding often signal a well-lit habitat. With the right setup, you’ll see their natural personality shine!
Establishing Proper Humidity and Water Areas
Balancing moisture levels might seem tricky, but it’s simpler than you’d expect! Proper humidity keeps your pet’s skin healthy during shedding and supports easy breathing. Aim for 35-60% humidity—a range that mimics damp meadows without turning the habitat into a swamp.
Maintaining Ideal Humidity Levels
Start with a digital hygrometer near the habitat’s center. These affordable tools give precise readings. If levels dip below 35%, lightly mist one side of the space with dechlorinated water. Avoid soaking substrates—excess moisture can breed harmful bacteria.
Place the water dish on the cooler side to slow evaporation. Choose a shallow ceramic bowl large enough for soaking but easy to clean. Daily water changes prevent bacterial growth and keep your companion hydrated.
| Solution | Pros | Cons |
|---|---|---|
| Digital Hygrometer | Accurate readings | Requires calibration |
| Misting Routine | Quick humidity boost | Over-spray risks |
| Sphagnum Moss | Holds moisture | Needs frequent replacement |
Watch for condensation on glass—this signals excess humidity. Crack open ventilation panels slightly during the day to balance airflow. Pair these steps with weekly substrate checks, and you’ll create a habitat where health thrives naturally!
Choosing the Best Substrate and Décor for Enrichment

The foundation of a thriving habitat begins with what’s underfoot. A quality substrate does more than look natural—it supports healthy behaviors and simplifies maintenance. Let’s explore materials that balance safety and enrichment.
Selecting the Right Substrate
Moisture-friendly materials like Zoo Med Eco Earth or Reptisoil work best. These hold humidity without becoming soggy—perfect for burrowing and nesting. For budget-friendly options, mix organic topsoil with coconut fiber (60/40 ratio).
Avoid cedar or pine shavings. Their oils can irritate sensitive skin. Instead, try layered paper towels for hatchlings or bioactive setups with springtails. Check our guide to types of reptile bedding for deeper comparisons.
Incorporating Enrichment Décor and Hideouts
Cork rounds and slate slabs create climbing opportunities. Place sphagnum moss in damp corners to boost humidity during shedding. Rotate artificial plants weekly to spark curiosity.
Offer at least three hideouts: one moss-lined, one paper-based, and one submerged in foliage. This variety reduces stress by letting your pet choose comfort zones. Spot-clean daily and replace bedding every 4-6 weeks to maintain freshness.
Housing Strategies: Solo Versus Group Setups
Deciding whether to house your reptiles alone or together requires careful thought. While these social creatures often enjoy company, group living isn’t a one-size-fits-all solution. Let’s explore how to create harmonious living arrangements that prioritize safety and well-being.
Group Dynamics and Space Requirements
Many keepers successfully maintain small groups—typically 2-3 adults—when conditions align. Benefits include natural social interactions and shared warmth during cooler months. However, success depends on three key factors:
- Expanded space: Add 12-15 gallons per additional pet to prevent territorial disputes
- Gender balance: Avoid housing multiple males together during breeding seasons
- Personality matches: Pair similarly sized individuals with calm temperaments
Babies require extra caution. Their small size increases competition for food and hiding spots. Studies like those in recent herpetological research note occasional cannibalism in cramped juvenile setups.
For multi-pet habitats, double the number of hides and water dishes. Place visual barriers like tall plants between basking areas. Monitor feeding times closely—some individuals might need separate meals to ensure fair portions.
Always introduce new companions gradually. Start with short supervised visits in neutral territory. Watch for stress signs like excessive hiding or refusal to eat. With patience and proper planning, group living can become a rewarding experience for both you and your scaled friends!
Feeding and Nutrition Best Practices
Fueling your reptile’s adventures starts with smart meal planning. A balanced diet keeps energy levels high and supports vibrant scales. Let’s explore how to craft menus that mirror wild hunting experiences while meeting nutritional needs.
Varied Diet Essentials
Mix protein sources to prevent boredom and deficiencies. Earthworms, tilapia fillets, and pinky mice form a solid foundation. Some keepers add occasional treats like slugs or thawed silverside fish. Always choose prey no wider than 1.5 times your pet’s head—this prevents digestion issues.
Feeding Schedule and Supplement Tips
Adjust meal frequency with age:
- Newborns: Every 4-5 days
- Juveniles: Weekly portions
- Adults: Every 10-14 days
Thaw frozen food in warm water—never microwave. Use stainless steel tongs to simulate live prey movement. Dust meals with calcium powder every 3-4 feedings. Herptivite multivitamins added monthly help round out nutritional gaps.
Consistency matters. Offer meals at the same time of day to establish routines. Watch for enthusiastic strikes—this signals a well-tuned feeding strategy. With variety and careful timing, your companion will thrive!
Handling and Bonding with Your Pet Garter Snake
Building trust with your scaled companion starts with mindful interactions. These curious creatures need time to adjust before handling begins—typically 7-10 days after arriving home. Watch for relaxed exploration and regular feeding as signs they’re ready for gentle contact.
Safe Handling Techniques
Approach your pet calmly, avoiding sudden movements. Slide one hand under the midsection while supporting the tail with the other. This full-body support mimics natural ground contact and prevents panic.
Keep initial sessions under 5 minutes. Gradually increase duration as confidence grows. Always wash hands before and after contact—this protects both you and your animal friend from potential bacteria.
Positive reinforcement works wonders. Offer a small treat after successful handling to create happy associations. One keeper shared how weekly sessions transformed their shy juvenile into a curious explorer who willingly climbs onto open palms.
Watch for stress signals like rapid tongue flicks or tense coils. If these appear, return your companion to their habitat immediately. Consistent, patient interactions build lasting bonds while respecting boundaries—the heart of responsible care.
Final Reflections on Building a Thriving Habitat
Crafting the perfect habitat combines science and creativity. A well-planned space supports natural behaviors while simplifying daily care. Focus on three pillars: stable temperatures, clean water access, and enrichment that sparks curiosity.
Regular checks make all the difference. Use digital tools to monitor warm and cool zones nightly. Replace substrates every 4-6 weeks to maintain freshness. Rotate climbing branches or hides to keep your companion engaged—variety prevents boredom and mimics wild exploration.
Great habitats evolve with experience. Adjust lighting schedules as seasons change. Deep-clean water dishes daily to prevent bacterial growth. Celebrate small wins, like perfect shed cycles or active hunting behaviors—they signal a happy, healthy pet.
Remember: Every tweak teaches you more about your scaly friend’s needs. Stay curious, stay observant, and don’t hesitate to refine your setup. For more tips, download our free habitat checklist—your roadmap to creating a lifelong sanctuary!

