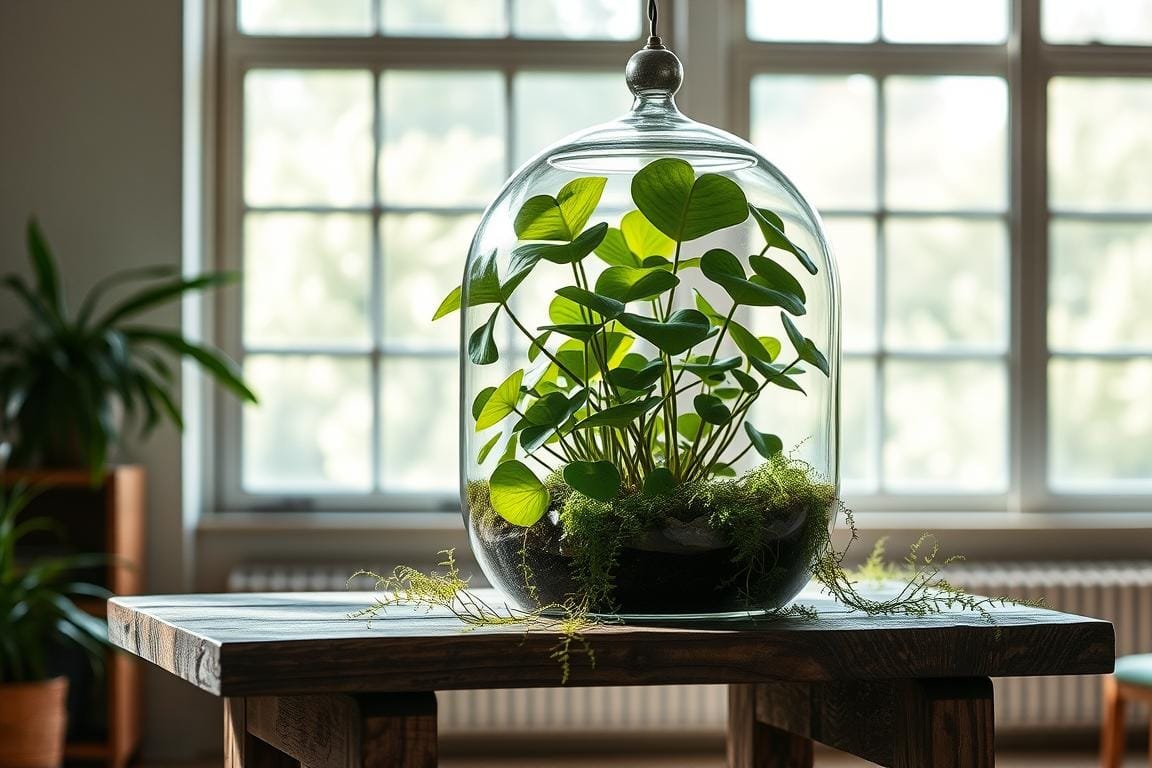
Creating a miniature indoor garden doesn’t have to be complicated. With the right approach, you can design a low-maintenance, eye-catching display that brings nature into your home. This guide focuses on crafting a thriving ecosystem using a popular houseplant known for its lush green leaves and adaptable growth patterns.
Whether you’re new to indoor gardening or looking for a creative way to showcase plants, this step-by-step tutorial simplifies the process. You’ll learn how to select healthy specimens, set up the perfect environment, and maintain vibrant foliage with minimal effort. The project blends the joy of plant care with stylish décor—ideal for small spaces or busy lifestyles.
One standout feature of this approach is the plant’s natural beauty. Its arrowhead-shaped leaves add texture, while its fast growth creates a dynamic display over time. For more tips on designing enclosed ecosystems, explore our guide to mastering terrarium building.
By following these methods, you’ll create more than just a container—it becomes a living artwork. Let’s dive into how the right setup can enhance your plant’s health and transform any room into a green oasis.
Getting to Know Your Syngonium and Its Varieties
Diverse foliage shapes and sizes add character to any plant display. The Syngonium genus, native to Central and South America, offers striking options like the classic Arrowhead Vine and compact ‘Pixie’ variety. These adaptable species thrive in confined spaces, making them ideal for creative indoor projects.
Discovering the Arrowhead Vine and Pixie Syngonium
The Arrowhead Vine grows vigorously, reaching up to 3 feet tall with distinct arrow-shaped leaves. In contrast, the dwarf ‘Pixie’ stays under 6 inches—perfect for small glass containers. Both types develop creamy white patterns on their foliage as they mature, creating visual depth.
Exploring Natural Growth Patterns and Characteristics
Young plants showcase pointed leaf shapes that gradually split into multi-lobed forms. This evolution adds dynamic texture over time. While most varieties prefer medium light, some tolerate low-light corners beautifully. Their trailing vines adapt well to vertical arrangements or compact clusters.
Experimenting with different species lets you mix textures and colors. Pair deep green-edged leaves with variegated types for contrast. Remember—each plant’s growth habits influence your design’s long-term success. Choose wisely based on your space and style goals!
Preparing the Perfect Terrarium Environment
Building a thriving indoor ecosystem starts with smart material choices. The right blend of soil, light, and moisture creates a stable home for your green companions. Let’s break down the essentials for success.
Selecting Soil, Substrate, and Other Essential Materials
A balanced soil mix prevents soggy roots while keeping plants hydrated. Combine peat moss with perlite and sphagnum for ideal drainage. This trio allows air pockets to form, protecting delicate roots from rot.
Add vermiculite to retain just enough water without drowning your setup. Layering gravel at the bottom boosts drainage further. For step-by-step guidance, check out this resource on how to make a terrarium with layered substrates.
Establishing Optimal Lighting and Humidity Conditions
Bright, indirect light keeps foliage vibrant—place near east-facing windows or use LED grow lights. Avoid direct sun, which can scorch tender leaves. Aim for 18-25°C (65-77°F) to mimic tropical conditions.
Mist plants weekly or add a humidity tray to maintain moisture. Closed containers often self-regulate, while open designs need occasional spritzing. Watch for condensation—it’s nature’s hydration reminder!
Step-by-Step Guide on Building a syngonium terrarium
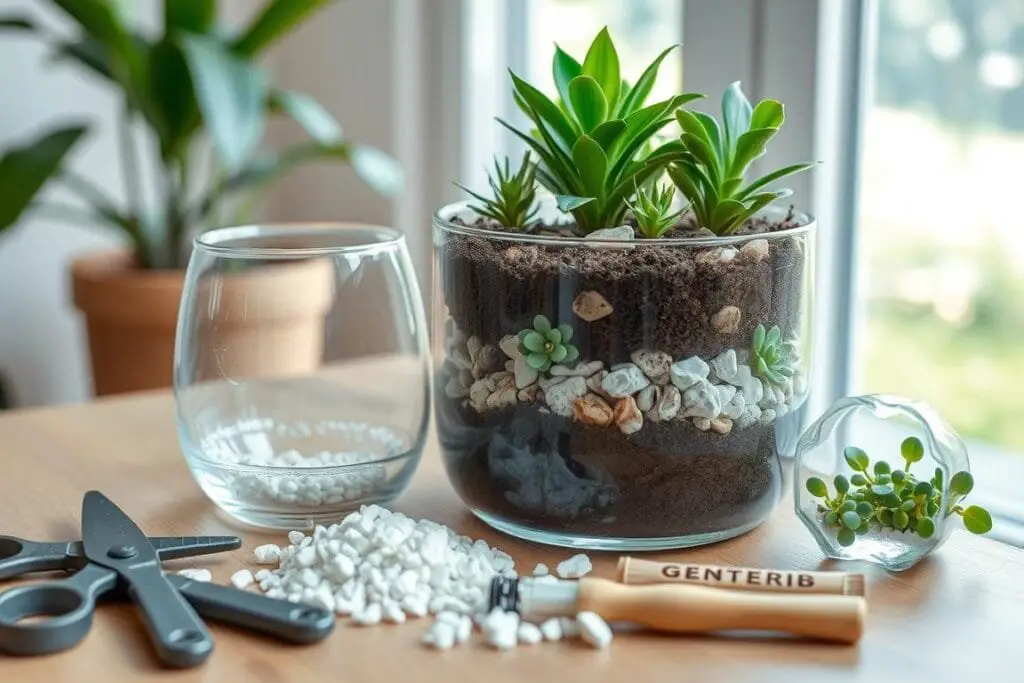
Transforming a glass container into a thriving ecosystem requires thoughtful planning. Let’s walk through the essentials of assembling your display, from initial sketches to final adjustments. With a few simple tools and creativity, you’ll create a self-sustaining habitat that flourishes for years.
Planning Your Layout and Arrangement
Sketch your design on paper first. Consider each specimen’s mature size and growth pattern. Place taller varieties toward the back and trailing stems near the edges. This creates depth and allows leaves to arch gracefully as they expand.
Implementing a Layered Soil Mix and Drainage System
Start with pebbles for drainage, then add activated charcoal to prevent odors. Top with a blend of potting soil and perlite. This three-layer system protects roots from excess moisture while providing nutrients. For deeper insights, our detailed terrarium guide covers advanced layering techniques.
Setting Up Lighting and Watering Mechanisms
Position LED grow lights 6-8 inches above the glass. Use a timer for 12-hour cycles to mimic natural conditions. Water sparingly—a spray bottle delivers gentle hydration without flooding. Monitor humidity weekly; condensation on the walls means you’ve nailed the balance!
Rotate your display every few weeks to ensure even light exposure. This simple habit encourages symmetrical growth and keeps your arrangement looking fresh. Remember: patience rewards you with a living sculpture that evolves beautifully over time.
Maintaining Healthy Growth and Propagation Techniques
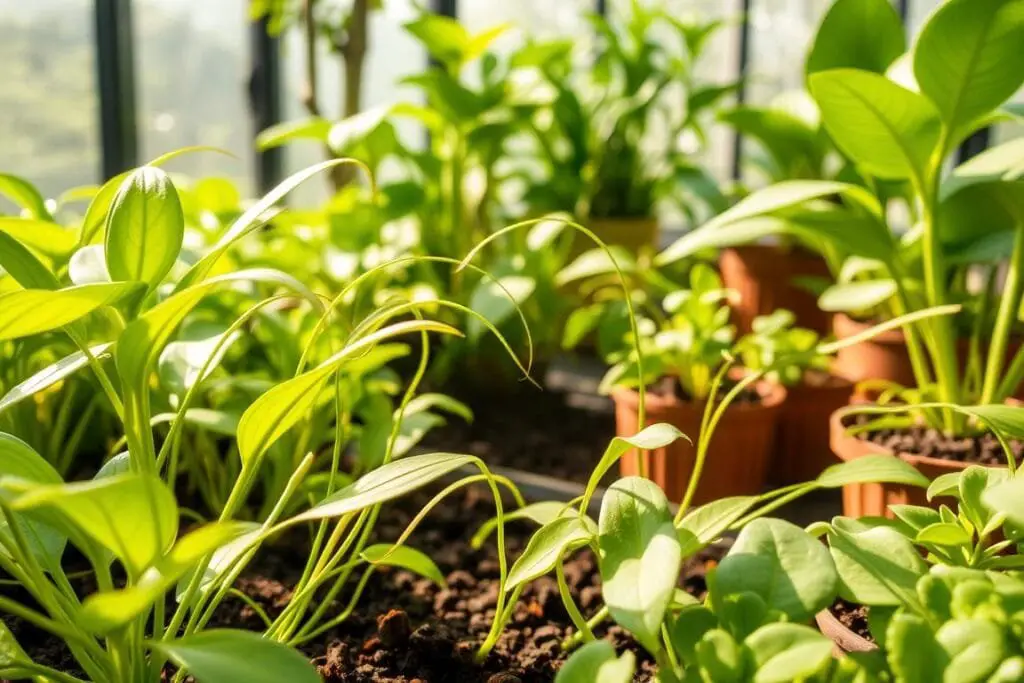
A thriving miniature ecosystem thrives on simple, consistent care. By balancing moisture, warmth, and light, you’ll keep your green display vibrant while expanding it through easy propagation methods. Let’s explore how to sustain ideal conditions and multiply your collection effortlessly.
Watering Wisdom and Environmental Balance
Check soil moisture weekly by touching the surface—water only when the top inch feels dry. Use a spray bottle to avoid overwatering, which can cause root rot. Maintain temperatures between 65-80°F for steady growth, avoiding drafts or sudden changes.
Bright, indirect light keeps leaves perky and prevents soggy soil. If leaves yellow, reduce watering. Slow growth? Try moving closer to a window. Closed containers often need less frequent hydration than open designs.
Growing New Plants From Cuttings
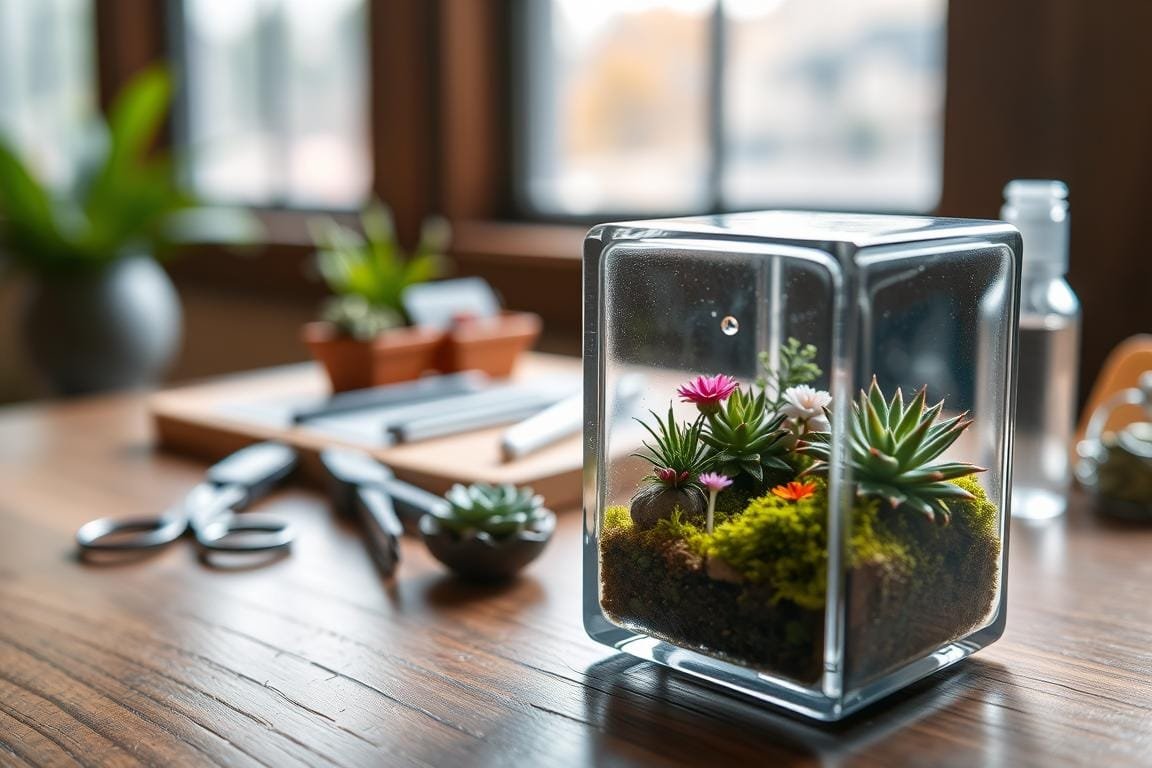
Propagation is simpler than you think! Snip a 4-6 inch stem cutting below a leaf node using clean scissors. Place it in water or moist soil—roots usually form in 2-3 weeks. For faster results, dip the end in rooting hormone first.
Another method: gently separate healthy vine sections with aerial roots and plant them directly. Keep new plants warm and mist lightly until established. Soon, you’ll have fresh specimens to share or add to your Syngonium care guide collection!
Watch for new leaf growth—it means your cuttings have settled in. With these easy propagate techniques, you’ll turn one plant into many, creating endless possibilities for creative displays.
Wrapping Up Your Terrarium Adventure
Crafting a living display blends artistry with nature’s rhythms. You’ve journeyed from selecting compact varieties to mastering soil layers and light balance. Pair bright light with well-draining soil, and watch leaves flourish while avoiding root issues. Remember—steady temperature and airflow keep your ecosystem thriving.
Designing these mini gardens sparks endless creativity. Arrange trailing vines to highlight their growth patterns, then adapt layouts as new leaves emerge. Propagation through cuttings lets you expand your collection or share green joy with friends. It’s simpler than you think!
Every tweak teaches something new. Try mixing species with contrasting textures or experimenting with container shapes. Each choice personalizes your space while supporting plant health. The key? Stay curious and adjust care routines as your green friends evolve.
Now that you’ve built a foundation, keep exploring! Discover how different genus traits influence designs or test innovative watering tricks. Your living artwork will reward patience with lush beauty—so celebrate each new leaf and enjoy the journey.

