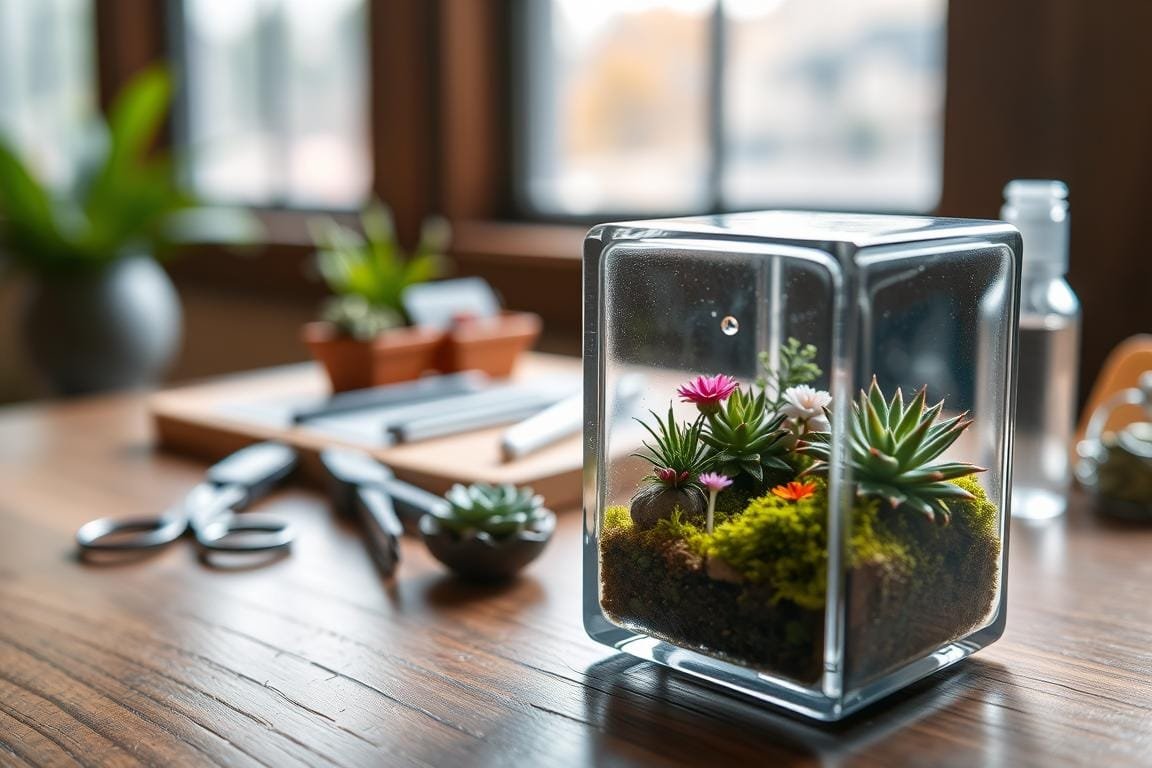
Imagine turning an everyday object into a living work of art. A miniature garden inside a breath-mint container brings whimsy to small spaces, blending creativity with nature. This project transforms ordinary materials into a tiny ecosystem, perfect for desks, shelves, or gifts.
Building a small-scale terrarium offers surprising benefits. It’s a calming hobby that reduces stress, teaches plant care basics, and sparks imagination. Best of all? You’ll use items already at home, making it budget-friendly and eco-conscious.
Our guide simplifies the process with clear steps anyone can follow. Whether you’re new to gardening or love DIY crafts, you’ll create something special in under an hour. We’ve combined expert tips from trusted horticulture resources with tested design ideas for guaranteed success.
You’ll discover how to choose the right plants, layer materials properly, and maintain your creation. These techniques work for any container, letting you design indoor displays or outdoor accents. Ready to start? Let’s dive into the details – no green thumb required!
Discovering the Miniature Garden Concept
Small-scale ecosystems have captivated hobbyists for decades, but their modern twist began with a clever idea: repurposing disposable items. Crafters started experimenting with unlikely containers, proving that even the tiniest spaces can host thriving greenery. This movement birthed designs as creative as they are eco-friendly.
The Story Behind Inspired Designs
One viral social media post changed everything. A gardener shared how they turned a mint container into a palm-sized jungle, sparking thousands of imitations. Artists began using recycled materials like pill cases and lip balm tins, but one design stood out for its simplicity and charm.
Online communities now showcase these projects with pride. A 2023 survey by Miniature Gardening Magazine found 68% of creators started with upcycled items. Their top reason? Making nature accessible in urban environments.
From Empty Container to Living Art
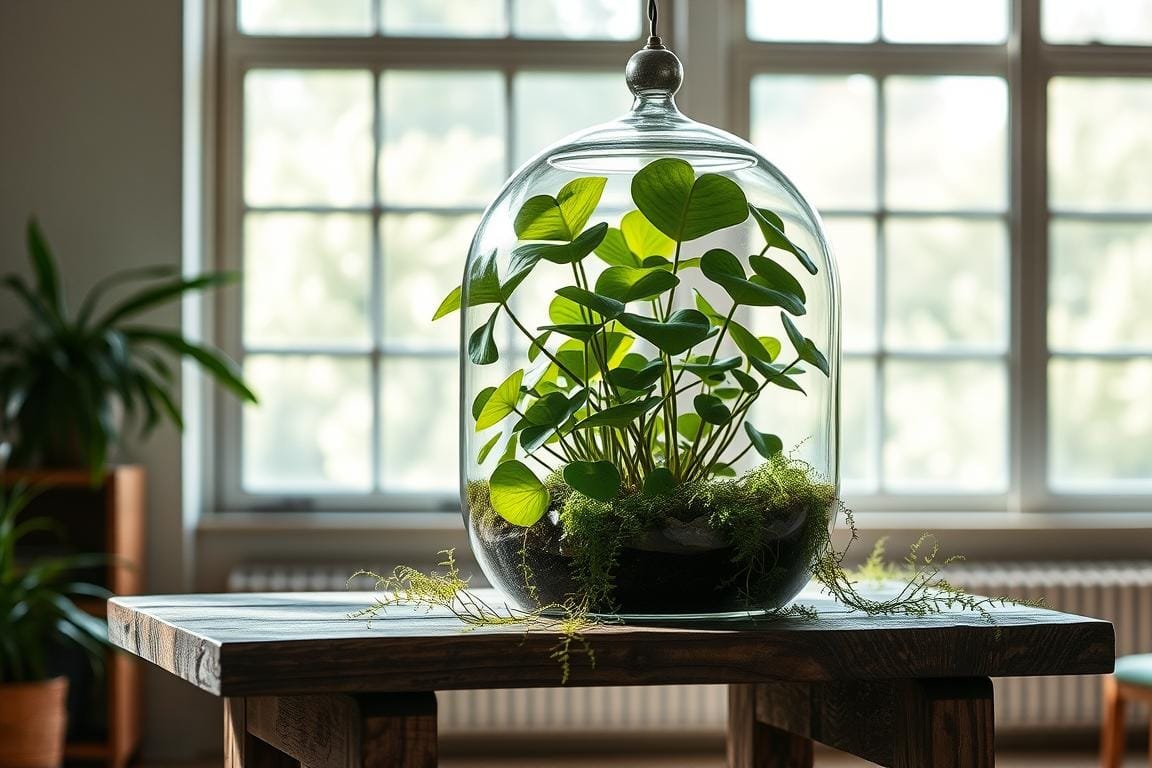
The magic happens in three stages. First, the container gets cleaned and ventilated. Next, layers of soil, gravel, and moss create a foundation. Finally, carefully chosen plants like baby tears or dwarf succulents complete the scene.
| Traditional Terrarium | Upcycled Version | Key Advantage |
|---|---|---|
| Glass jars | Repurposed containers | Portability |
| Large plants | Micro varieties | Low maintenance |
| Complex setups | 15-minute projects | Beginner-friendly |
Want to see it in action? Our step-by-step video demonstrates how a single afternoon can yield a self-sustaining world. You’ll learn moisture control tricks and creative decoration hacks – all while keeping costs under $5.
Planning Your Tic Tac Terrarium Design
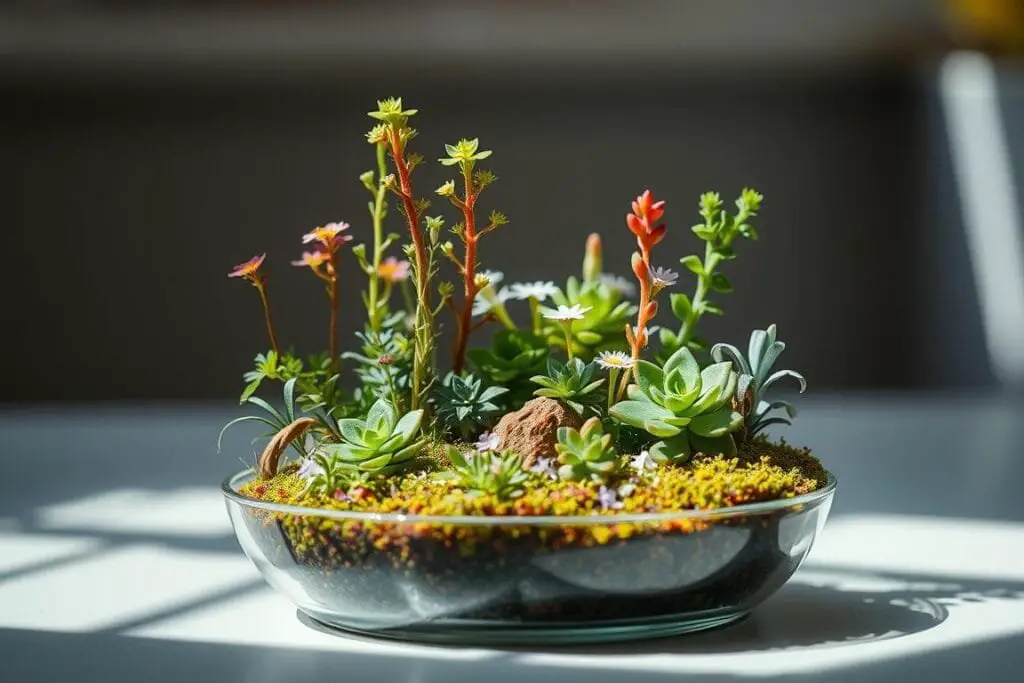
Crafting a tiny green world starts with smart preparation. Gather essentials that balance function and style while keeping costs low. Focus on materials that promote healthy plant growth and suit your container’s unique shape.
Gathering Materials and Tools
Begin with a clear plastic container – think breath mint packaging or similar small items. You’ll need:
- Aquarium gravel (1 tablespoon)
- Activated charcoal (½ teaspoon)
- Fast-draining potting mix
- Tweezers for precise plant placement
Choose slow-growing plants like Irish moss or dwarf ferns. These species thrive in confined spaces and require minimal trimming. For tools, repurpose makeup brushes for soil smoothing and eyedroppers for targeted watering.
Creative Inspirations for Your Miniature Garden
Transform your tiny ecosystem into a storybook scene. Try these fresh ideas:
- Desert oasis with miniature cacti and sandstone pebbles
- Enchanted forest using preserved moss and twig arches
- Beach retreat featuring blue glass “water” and seashells
Current trends from leading design blogs suggest mixing textures – pair velvety moss with rough lava rocks. For layout help, consult terrarium guides that showcase professional arrangements. Remember: your container’s transparency lets you play with 360-degree visibility – position striking elements near the walls.
Step-by-Step Guide to Building Your Mini Garden
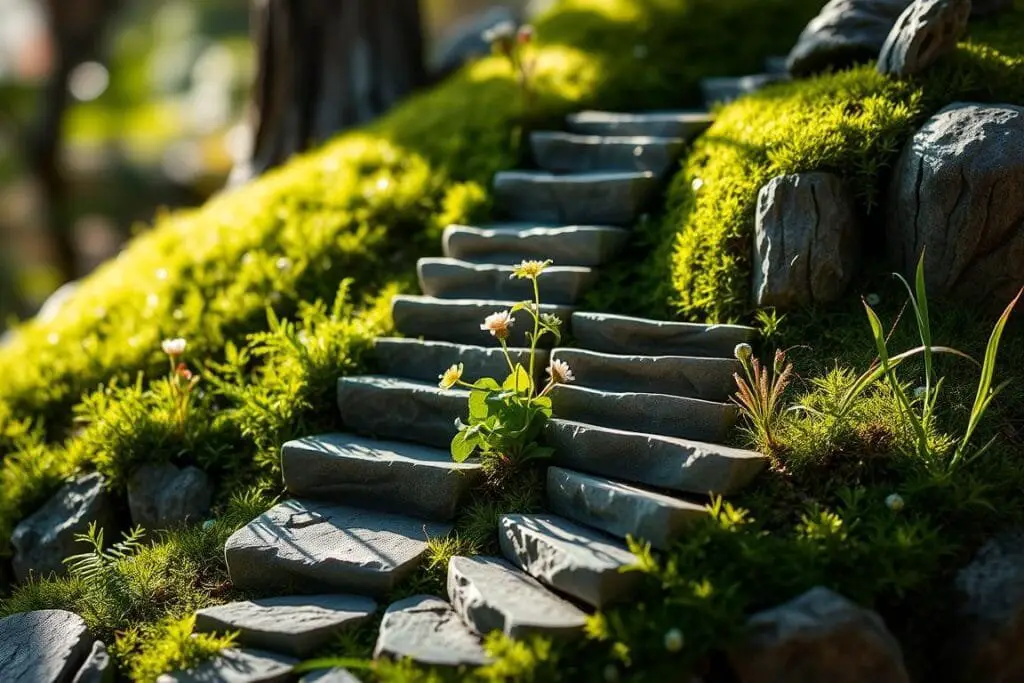
Transforming everyday items into living decor combines creativity with sustainability. Follow this foolproof method to craft a vibrant ecosystem that fits in your palm. We’ll break it down into manageable phases, perfect for first-timers or busy crafters.
Preparing the Container for Transformation
Start by thoroughly rinsing your chosen case with warm water. Remove any sticky residue using rubbing alcohol and a cotton swab. Poke 3-4 drainage holes in the bottom with a heated needle – this prevents root rot while keeping the structure intact.
Create a stable base with pea-sized gravel, filling ¼ of the space. Add a sprinkle of activated charcoal to filter water and odors. Pro tip from popular instructional videos: Layer materials using folded paper as a funnel to avoid spills.
Layering Elements for Success
Build upward using this sequence for optimal plant health:
- Potting mix (1/2 teaspoon)
- Moss barrier to separate soil from decorations
- Miniature accessories like pebbles or driftwood
Position slow-growing plants using tweezers, gently pressing roots into the soil. Mist lightly with water – a single spray usually suffices. If layers shift during assembly, our visual guide demonstrates quick fixes without starting over.
Notice condensation forming? Wipe the interior with a microfiber cloth to maintain clarity. Share your creation online using #MiniGardenMagic for personalized feedback from fellow enthusiasts!
Wrapping Up Your Tic Tac Terrarium Journey
Your tiny ecosystem adventure proves creativity thrives in small spaces. Through careful plant selection, smart layering, and mindful care, you’ve built a living masterpiece. These details ensure your creation stays healthy while expressing your unique style.
Share photos of your mini wonder using #MiniGardenMagic to connect with fellow crafters. Experiment with themes – swap moss for sand or add seasonal accents. Every tweak teaches new plant care skills and design tricks.
Keep your display vibrant with weekly checks. Bright indirect light and light misting work best. Use tweezers to remove debris without disturbing the layout. For fresh ideas, explore our video library showcasing innovative setups.
Ready to expand? Apply these techniques to larger containers or outdoor spaces. Your first project is just the beginning – nature’s beauty fits anywhere you dare to imagine it!

