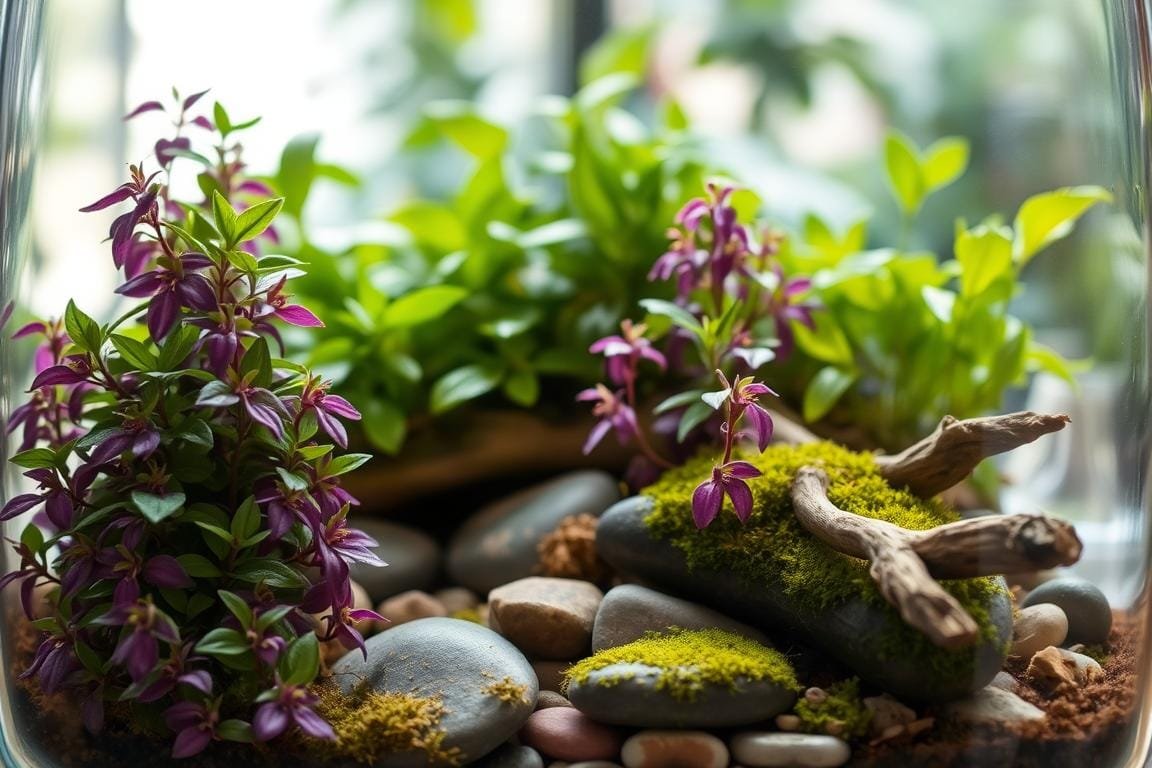
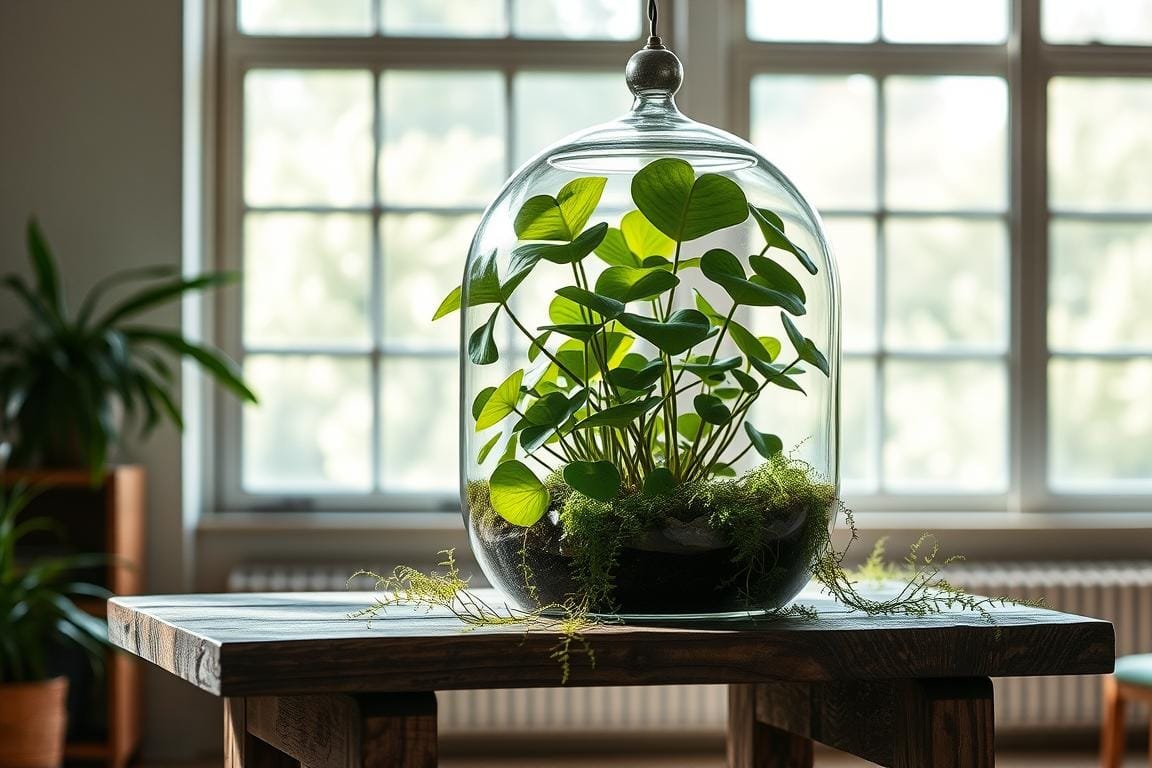
Bringing nature indoors just got easier—and more stylish. Closed terrariums are self-sustaining ecosystems that thrive with minimal effort, making them perfect for busy plant lovers. These glass containers create a humid environment that mimics the tropical homes of trailing varieties like Tradescantia zebrina, which dazzles with purple-and-green striped leaves.
Why choose this setup? Unlike fussy houseplants, these mini gardens need watering only every few weeks. Repurposed items like tomato juice bottles add rustic charm while reducing waste. Imagine transforming an old jar into a living decoration that sparks joy daily!
In this guide, you’ll learn how to layer materials like pumice, activated charcoal, and specialized soil for optimal growth. We’ll also explore creative ways to personalize your design with stones, moss, or tiny figurines—ideal for seasonal themes like an Easter project.
Ready to start? Follow our detailed instructions to build a thriving, low-maintenance display. From selecting compact species to troubleshooting common issues, we’ve got you covered. Let’s turn your green dreams into reality!
Gather Your Materials and Set Up Your Workspace
Building a thriving mini ecosystem starts with smart preparation. A well-organized setup ensures smooth assembly and reduces mess—perfect for crafting in small spaces like kitchen counters or coffee tables.
Choosing the Right Glass Container and Drainage Layer
Repurposed glass jars or bottles work beautifully for closed systems. Look for clear, airtight designs—like pasta sauce containers or wide-mouth vessels—to trap humidity. Avoid colored or textured glass, as they block light from reaching plant leaves.
Start with a 1-2 inch drainage layer. Pumice stones outperform gravel by preventing soil compaction. Pair them with activated charcoal to filter impurities and keep water fresh. Check this guide for container ideas!
| Material | Drainage Efficiency | Cost |
|---|---|---|
| Pumice | High | $$ |
| Leca | Medium | $$$ |
| Small Stones | Low | $ |
Selecting Soil, Activated Charcoal, and Decoration Pieces
Use a lightweight potting mix with perlite for airflow. Add a sprinkle of charcoal to prevent mold—a must for humid home environments. Finish with river rocks or miniature decor to personalize your design.
Clear a flat surface and lay out all items before starting. Keep tweezers handy for precise planting, and use a funnel to avoid spills when adding soil layers.
Assembling Your Terrarium: A Step-by-Step Process
Crafting a living artwork in glass requires patience and precision. Let’s transform your materials into a thriving miniature world through strategic layering and thoughtful design.
Layering Techniques and Plant Placement
Begin with your drainage materials—pumice or small stones—spread evenly across the pot’s base. This foundation prevents waterlogging and supports healthy growth. Next, add a thin charcoal layer to filter impurities and maintain freshness.
Top with moistened potting mix, leaving space for roots. Use a spoon to create shallow holes for your plants. Position trailing varieties near the edges and compact ones centrally. For narrow openings, slide stems through using chopsticks—this protects delicate leaves from bruising.
Handling Tradescantia and Moss with Care
Gently separate your trailing plant’s roots before placing them. Avoid squeezing stems; instead, guide them into position with tweezers. Press soil lightly around each base to secure them without compacting.
For moss, mist it first to make handling easier. Press clusters against bare soil patches to create natural-looking ground cover. This living carpet helps retain moisture while boosting visual appeal.
Finish with decorative stones or miniature accents. Remember: uneven material distribution can hinder growth. Follow this step-by-step terrarium guide for more design inspiration!
Caring for Your Tradescantia Terrarium
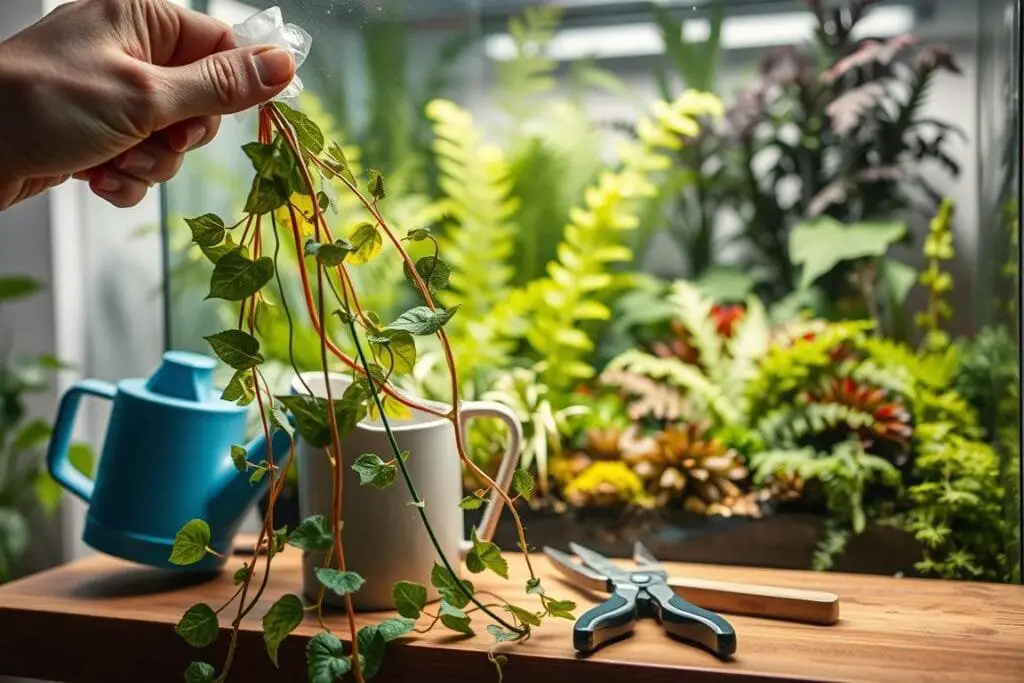
Maintaining your miniature garden’s beauty requires a few simple but crucial habits. Focus on balancing light, moisture, and growth patterns—these elements determine whether your plants flourish or struggle. Let’s explore how to keep your setup thriving with minimal effort.
Watering, Light, and Moisture Management
Closed environments need watering only every 2-3 weeks. Check soil dampness by touching it—if dry, mist lightly. Overwatering causes root rot, so err on the side of caution.
Place your display in bright, indirect light for 6-8 hours daily. Direct sun scorches leaves, while low light fades vibrant stripes. Rotate the container weekly to ensure even exposure.
Monitor condensation: heavy fogging signals excess moisture. Crack the lid briefly to balance humidity. For airflow, open it once a week for 30 minutes—this prevents mold without drying out plants.
Pruning, Trimming, and Managing Rapid Growth
Use sharp scissors to trim stems above leaf nodes. This encourages bushier growth and prevents leggy trails. Remove yellowing leaves promptly to redirect energy.
Check progress every week—fast-growing varieties can overcrowd space quickly. Cut back vines by 1-2 inches to maintain shape. Save clippings to grow new plants elsewhere!
Wipe the glass monthly to maximize light penetration. Consistent care keeps your ecosystem balanced and visually striking for years.
Enhancing Plant Growth and Display
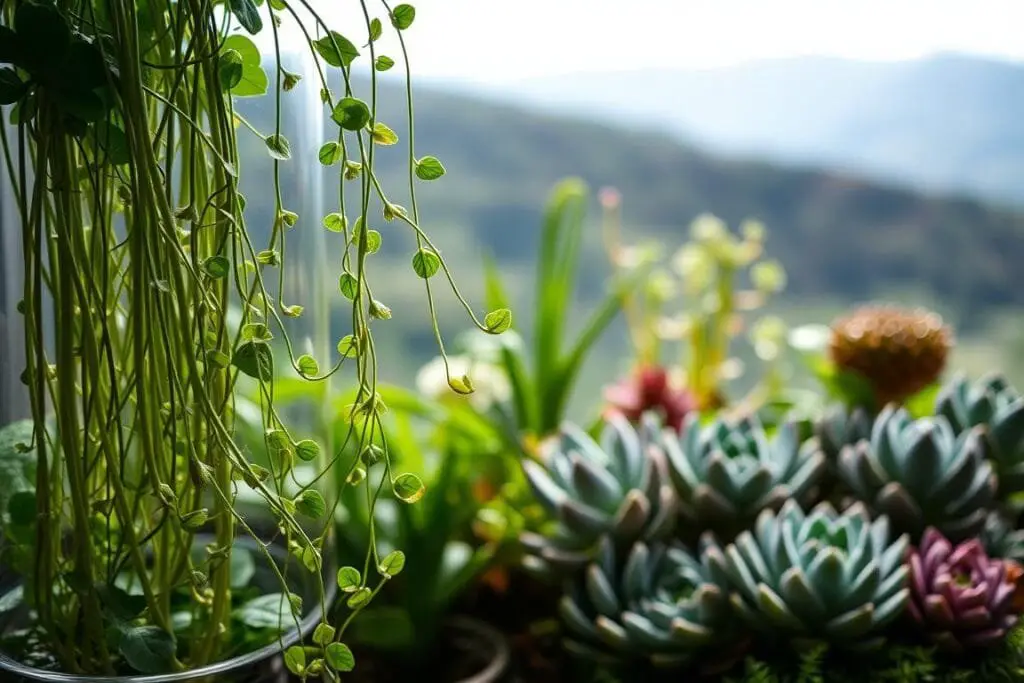
Transform your living display into a dynamic art piece through smart styling and plant multiplication techniques. Balancing aesthetics with biology keeps your mini garden thriving while reflecting your personality.
Creative Decoration and Propagation Ideas
Add whimsy with tiny color-coordinated figurines—think ceramic mushrooms or metallic geodes. Match accents to your plant’s stripes: copper pieces pop against purple vines, while white stones brighten green foliage.
For propagation, snip 4-6 inch stem sections just below leaf nodes. Remove lower leaves and place cuttings in water-filled containers like test tubes or vintage bottles. Roots typically form within 2 weeks.
Maintain vibrant color by ensuring bright indirect light during rooting. Once roots reach 1 inch, transfer cuttings back into the main display or gift them in mini containers.
Check vines monthly. Trim any stem exceeding 8 inches to prevent overcrowding. Use these trimmings to expand your collection—they root easily in both soil and water.
Remember: decorations should never block light or trap moisture against vines. Keep 60% of the soil surface clear for healthy air circulation. Your living masterpiece will reward you with lush growth and endless conversation starters!
Wrapping Up Your Indoor Garden Journey
Your journey into miniature gardening ends with a vibrant, self-contained display that brightens any room. You’ve mastered material selection, layered soils effectively, and positioned trailing greenery for maximum impact. Now comes the fun part—watching your creation evolve!
Keep your ecosystem thriving with simple habits. Check moisture every few weeks and rotate the container for even light exposure. If leaves lose their stripes, move it closer to a window. Spot mold? Air it out for a day—problem solved.
Don’t hesitate to experiment! Swap decorative stones for seashells or add tiny fairy lights. Propagate cuttings in water-filled jars to expand your garden collection. Share extras with friends or create themed displays for holidays.
Place your glass home near east-facing windowsills or office desks where indirect light abounds. Local nurseries and online shops like Etsy offer fresh Tradescantia zebrina starts if you want more varieties.
Remember: great things grow from small beginnings. With minimal care, your living artwork will flourish for months, bringing nature’s calm into daily life. Happy growing!

